
Settings A–Z
How the settings app is organized: six home-screen groups, a search screen that indexes almost every row, and a map to every screen in this section.
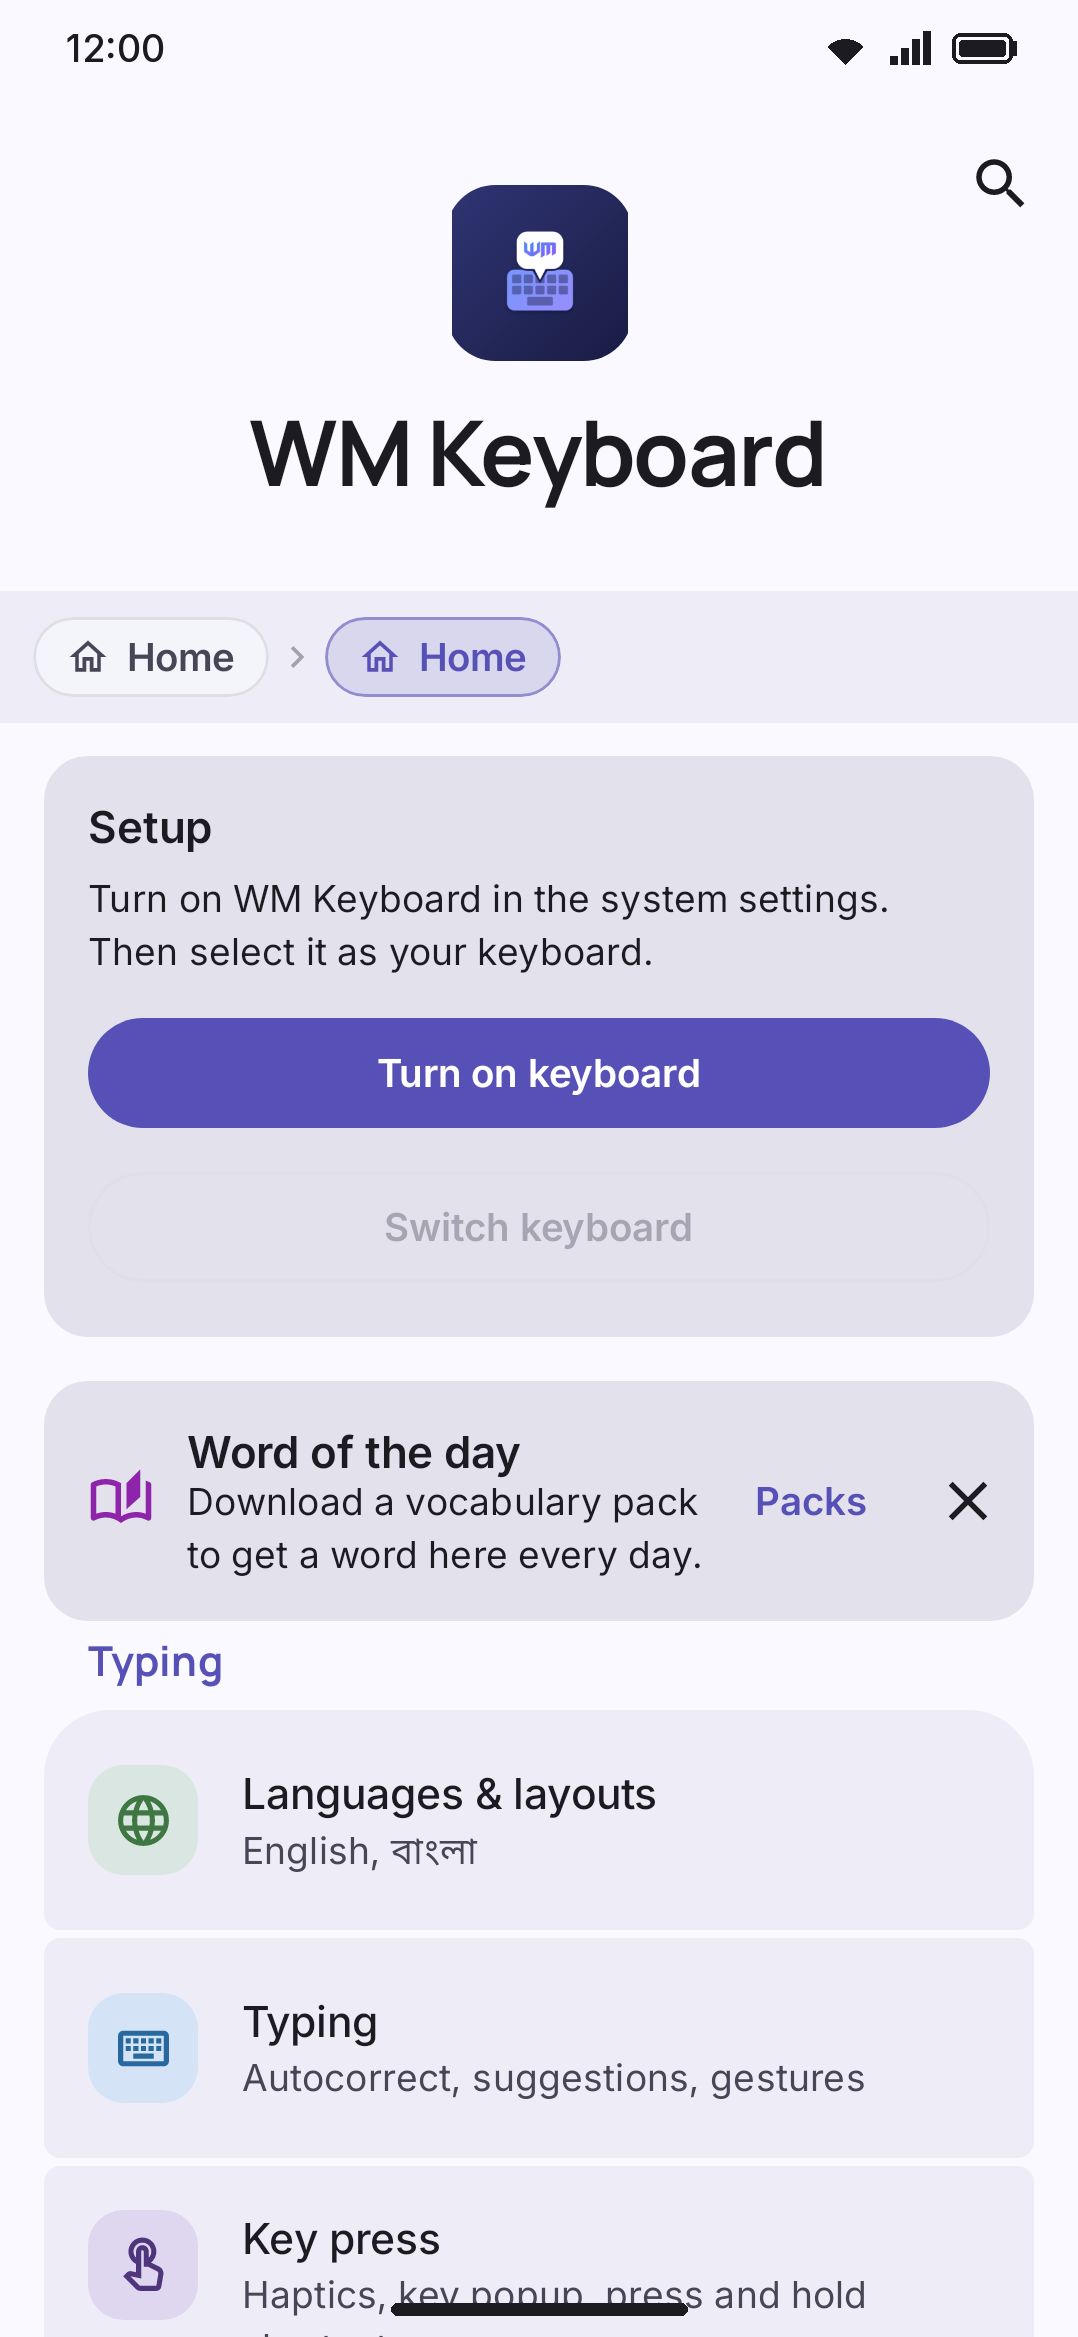
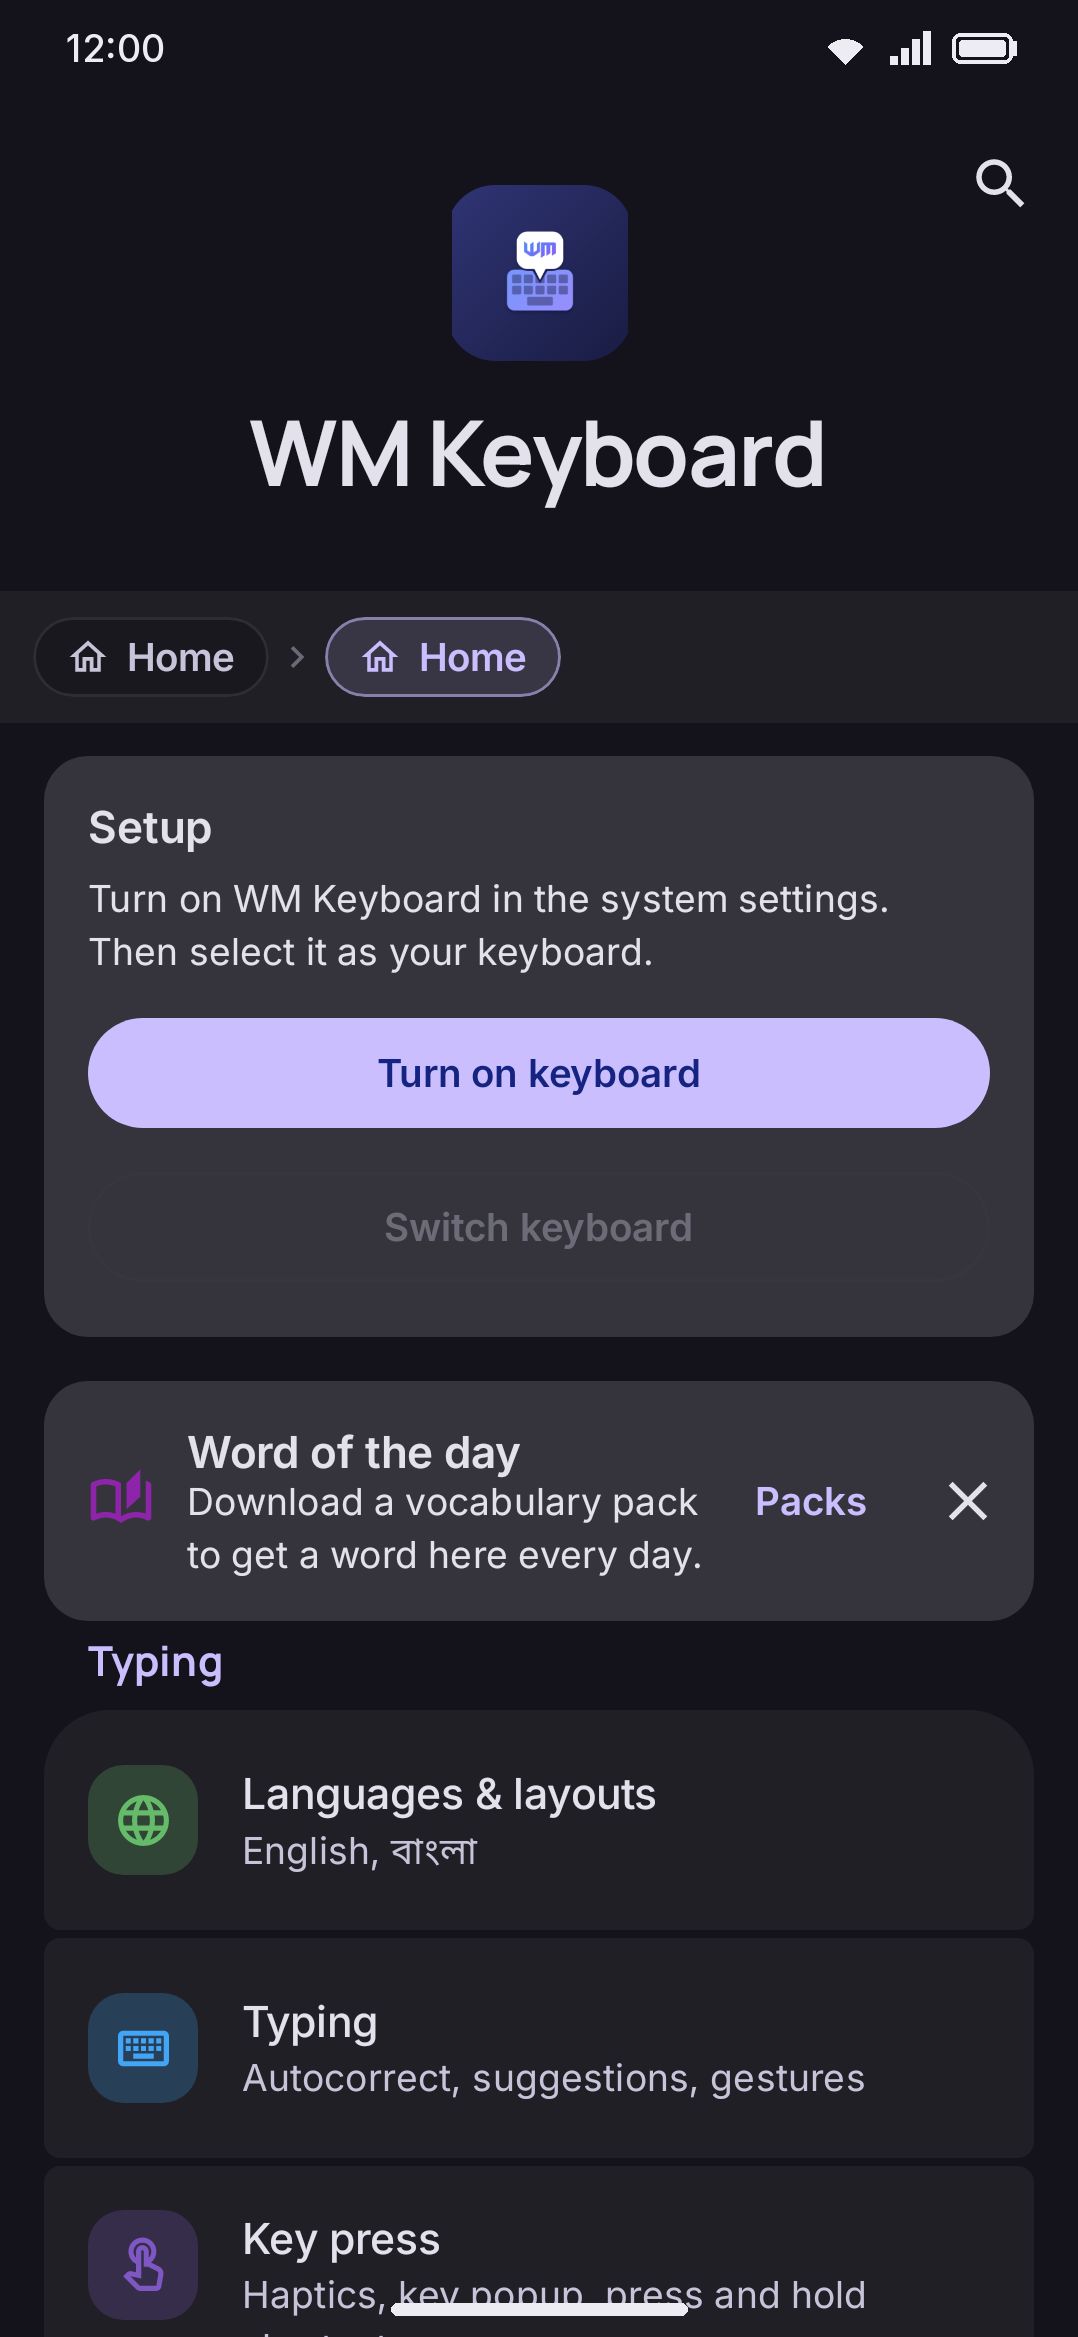
WM Keyboard’s settings app opens on a Home screen: sixteen rows, sorted into six groups. Tap a row to open its screen. Tap the magnifier at the top to search across almost everything in one field.
Browsing the six groups
Section titled “Browsing the six groups”Home has no toggles of its own. It’s pure navigation, plus the setup card above the groups, which stays there until the keyboard is enabled and active and then goes away. Each row below opens one screen, and each screen has its own page in this section:
Typing
- Languages & layouts: installed languages and layouts. First on purpose: it is the first thing anyone looks for on a new keyboard
- Typing: autocorrect, suggestions, gestures
- Dictionaries & words: personal dictionary, custom word lists, the blacklist, emoji keywords. A sub-screen reached from both Typing and Emoji, not a Home row of its own
- Key press: haptics, key popup, long-press shortcuts
Keyboard
- Appearance: themes, fonts, toolbar style
- Keyboard themes: theme list and editor
- Keyboard font: Google Fonts, imported fonts
- Icons: icon packs and per-slot overrides
- Layout & size: key size, number row, one-handed, split & floating
- Key layouts: design your own key grid, or start from a built-in one. Reached from Layout & size, and from the Secondary layout tool’s own detail screen
- Rows & bars: row order, the symbol row and its symbol sets
Features
- Emoji: suggestions, emoji row, emoji style, favourites
- Clipboard: history, the paste chip, screenshots, sensitive clips. A Home row whose settings are documented on the Clipboard guide page, since they describe the panel they drive
- Voice typing: the recognition engine, the microphone view, spoken punctuation, and the offline models. Documented on the Voice typing guide page for the same reason
- Text expansion: your snippets, their triggers and patterns, and the template variables. Documented on the Snippets guide page for the same reason
- Tools: the master tool list. Each tool’s own screen is documented on its guide page, not here
- Phone number formats: the clipboard’s phone-number masks, reached from the Clipboard screen. It’s the one per-tool sub-screen with a page here, because the mask syntax needs the room
Accessibility
- Accessibility: contrast, colour vision, TalkBack, reduced motion
Data
- Privacy: on-device learning, incognito
- Permissions: everything the keyboard can reach and what it holds right now. A sub-screen off the top row of Privacy, not a Home row of its own
- Backup & restore: export your settings to a file, restore one, or set up the automatic backup that does it on a timer
- Advanced: the screens a first-week user never needs, one press away
- Keyboard modes: per-app setups for email, browser, coding and passwords
- Addons: repositories, installed addons, sticker packs, and the plugin manager. The sticker-pack and plugin managers are also addon-install destinations, so they’re covered here rather than under Tools
- Data saver: what the keyboard may fetch while the connection is metered, feature by feature
- Servers: F-Droid edition only. Where each online service and each download repository is called
- Notifications: what the keyboard may post, toggled by kind: downloads, app updates, backup problems, and a persistent Keyboard controls entry for bringing it back
- Selection actions: the bar of actions the keyboard offers for the text you select, with its Actions list, AI buttons and Time zones screens
About
- About & diagnostics: version, licence, open-source notices, updates, storage, diagnostics
- Statistics: how much you type, and the switch that stops the counting
That’s 30 screens in total: the 16 Home rows, plus fourteen sub-screens (Dictionaries, Themes, Fonts, Icons, Key layouts, Phone number formats, Permissions, Keyboard modes, Addons, Data saver, Servers, Notifications, Selection actions, Statistics). Every one of them has its own page in this section except Notifications, which is covered above instead.
Searching instead of browsing
Section titled “Searching instead of browsing”Tap the magnifier on Home. A full-screen search field opens and takes focus, so you can type straight away. There is nothing to read first: under an empty field sit the settings you last opened from search, newest first, and nothing at all until you have opened one. Type a setting’s name (“haptic”, “number row”, “incognito”), or the name of the tool it belongs to.
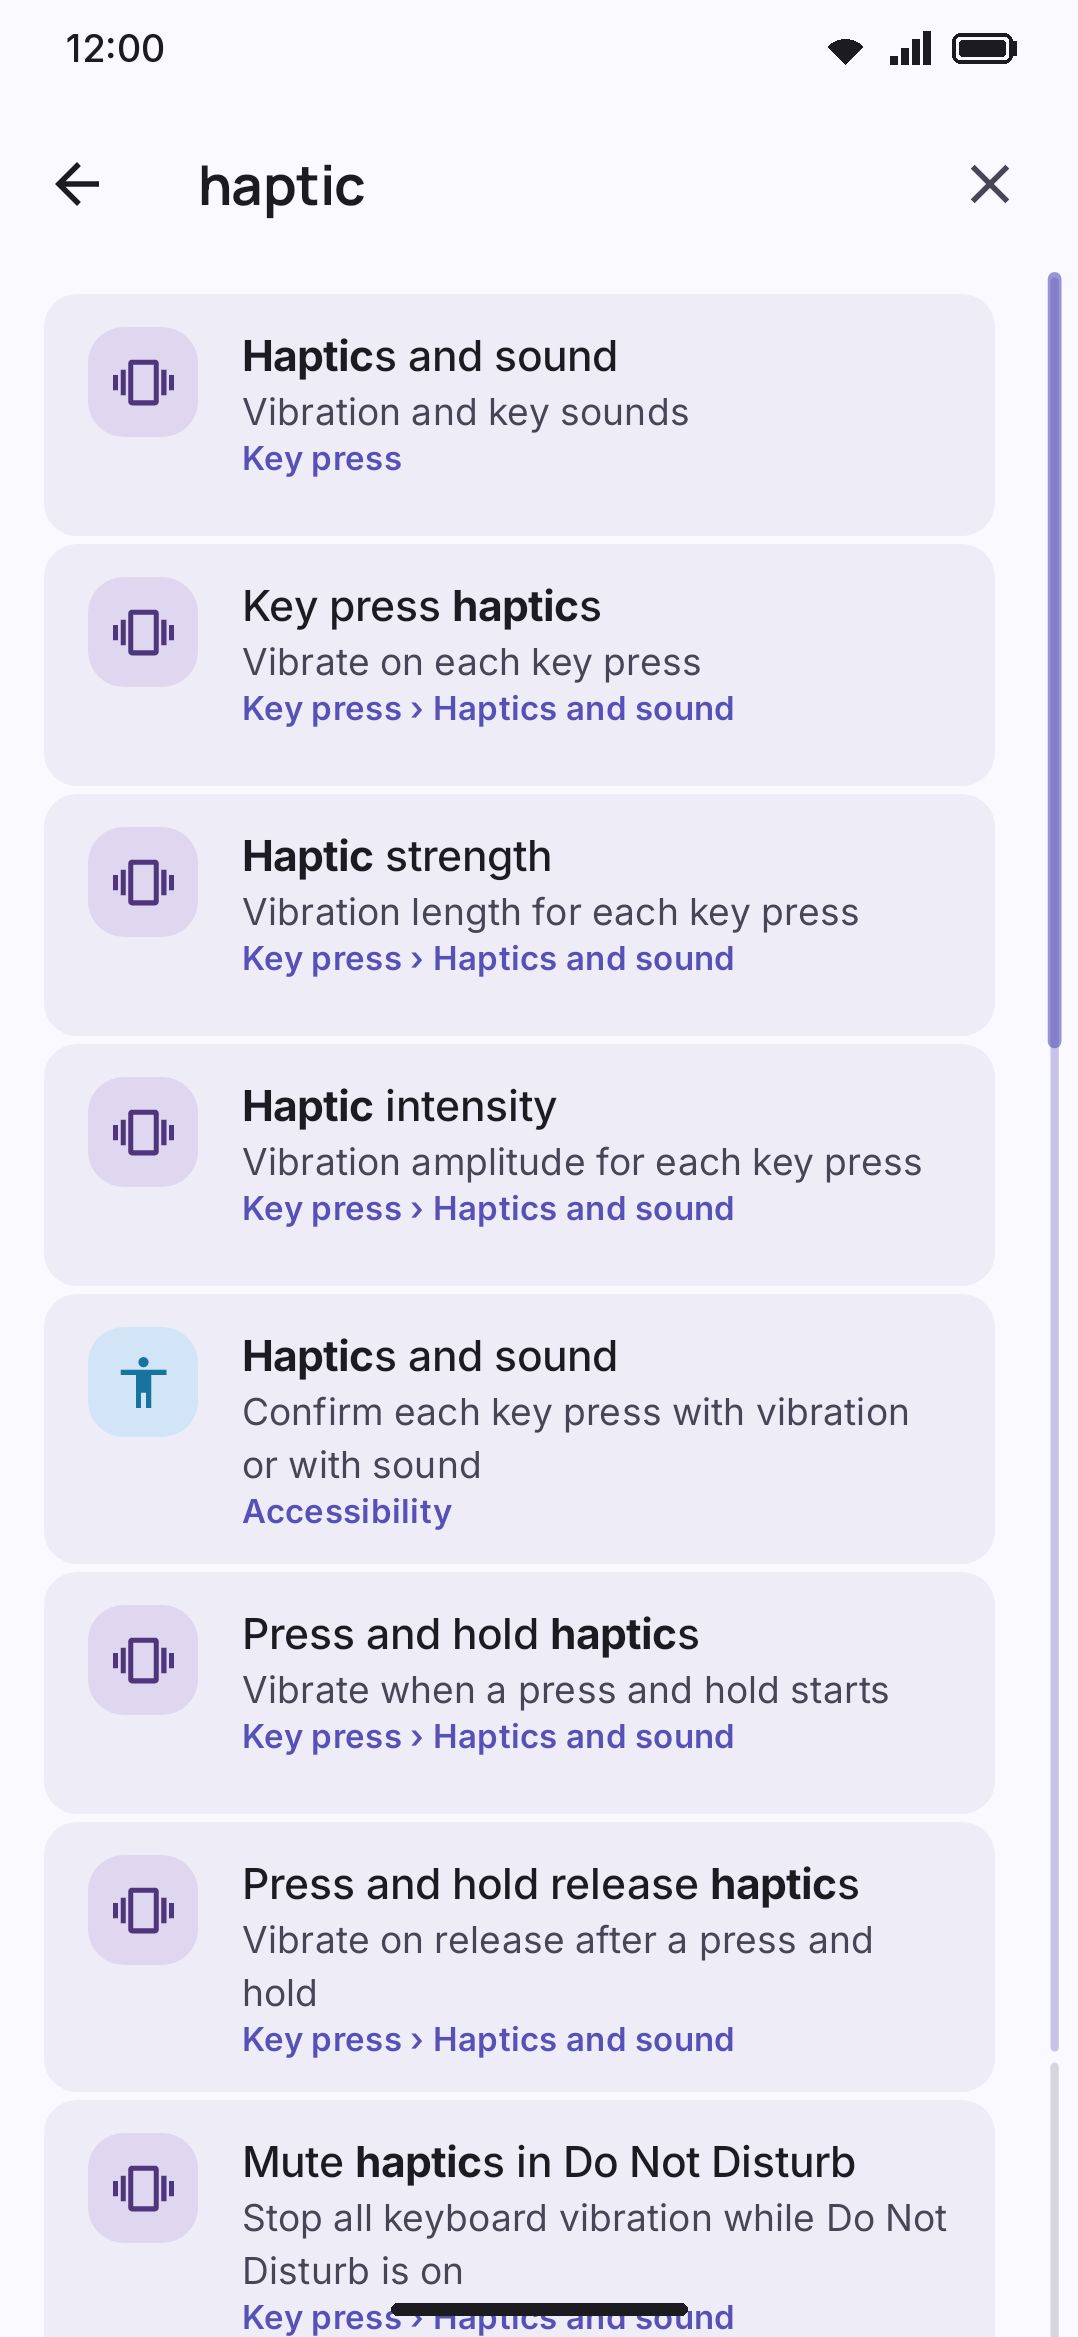
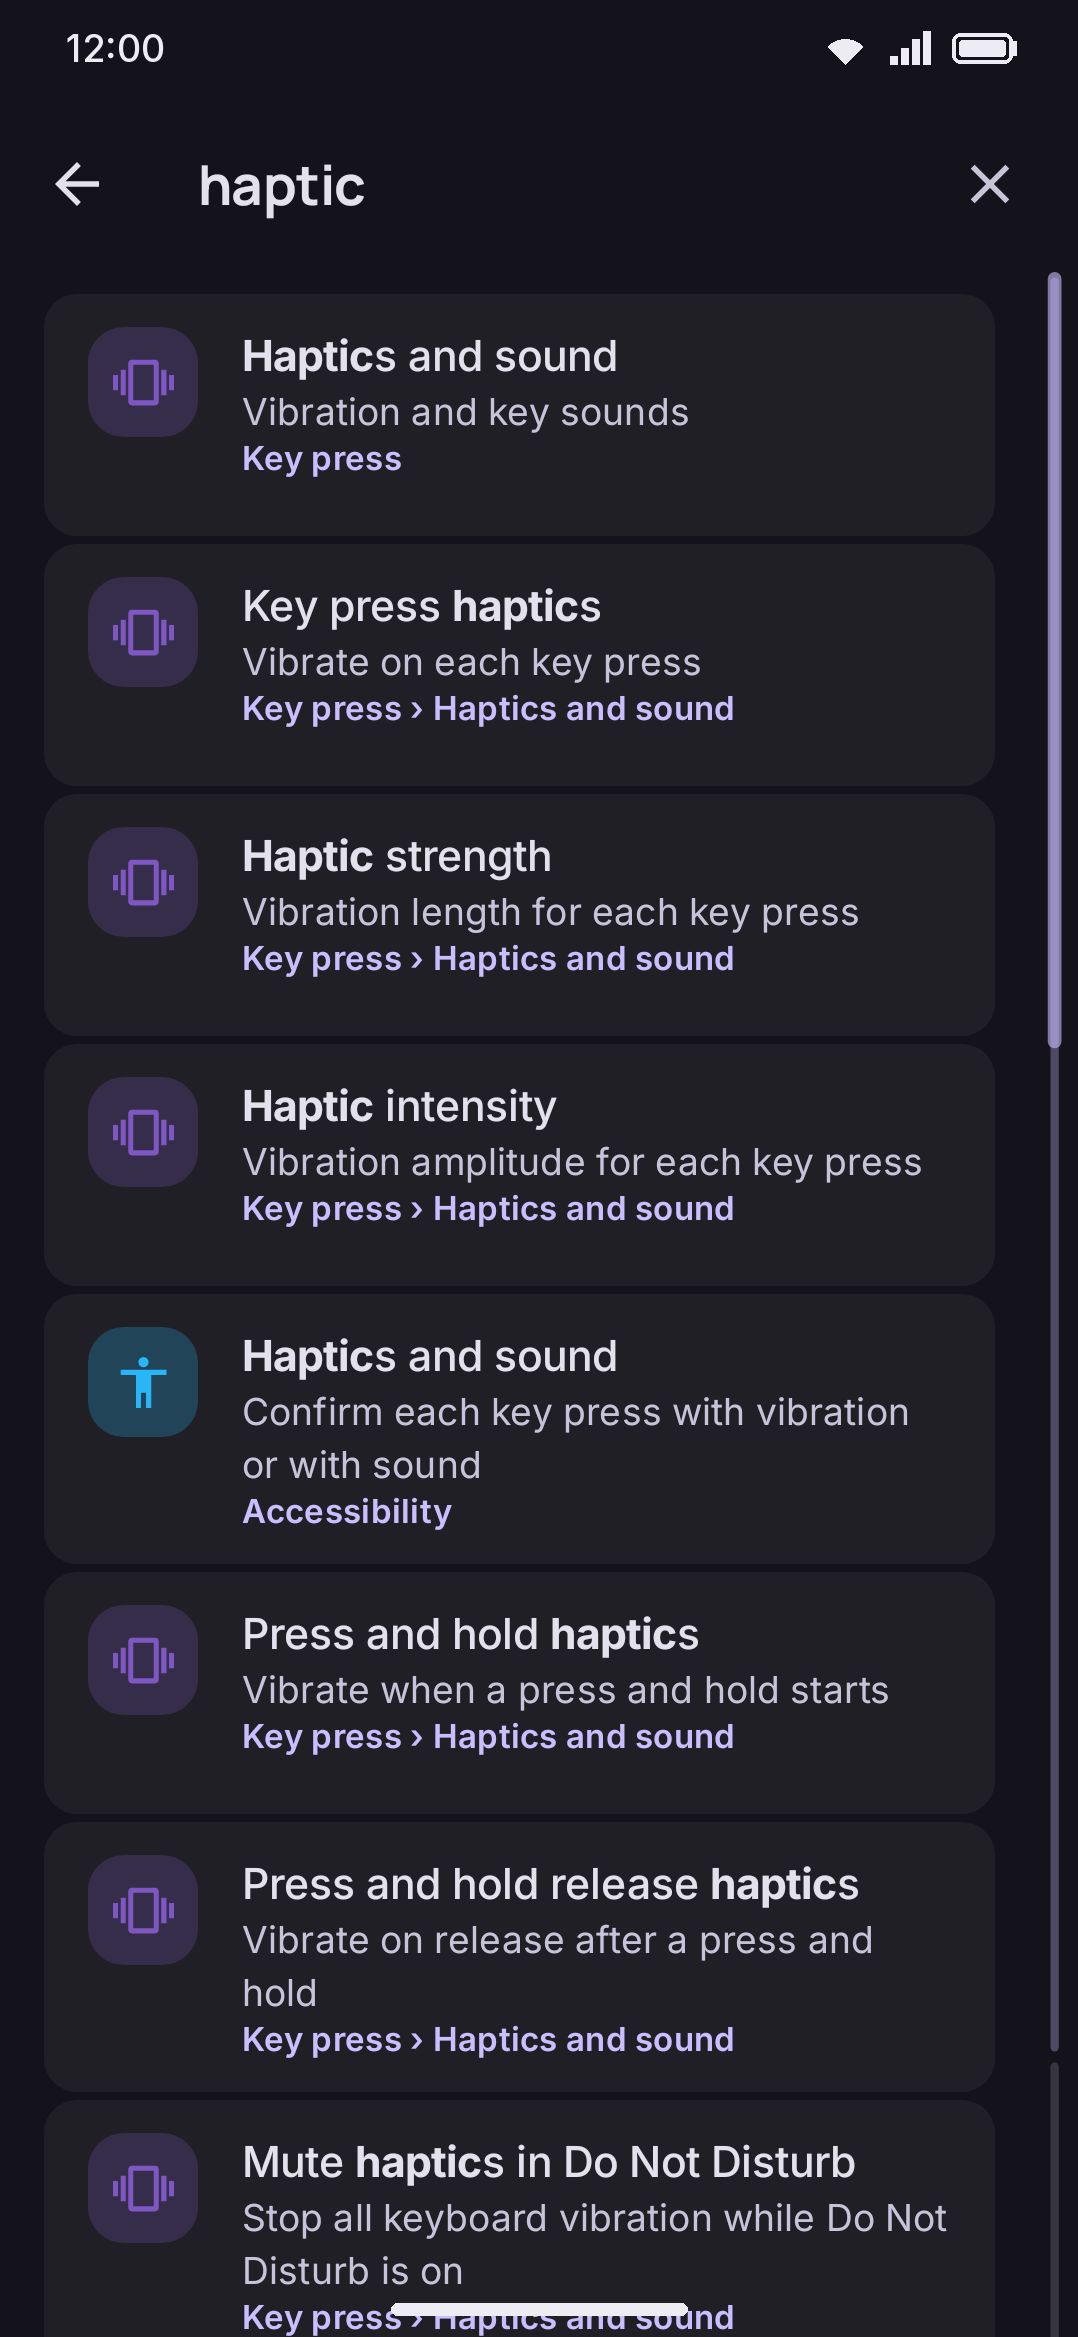
Rows that carry every word of your query win outright. When nothing carries all of them, the rows carrying the most words answer instead, as long as that’s at least half the query, so “emoji row” still finds the emoji rows rather than emptying the screen. Results rank exact and prefix title matches above description-only matches, and each result carries a breadcrumb under its title (like “Tools › Camera”) so you know where a row lives before you tap it.
Weaker matches sit under a Mentioned in the description heading below the ranked ones. On a long list of results, the rail down the right edge is cut into two pieces, one for each of the two sets. Drag the rail to move through the results, and the name of the set you are over shows beside your finger.
Tap a result and the owning screen opens, scrolled to that row, with a brief highlight on it. You never have to hunt for the setting you searched for. Toolbar tools are searchable too: every tool this build ships gets an entry automatically, whether or not you’ve turned it on, so a newly shipped tool is findable straight away, with no docs or search-index update behind it.
A search can also succeed on a name another keyboard uses for the same feature. “Octopus” or “z10” finds Words on the keys, and “swype” or “flow” finds Glide typing. Neither word appears in the row’s own title, and a row’s own name still wins when it also matches.
The list moves while you type, and the movement is the answer telling you what it did. The first letter puts a list on screen: the rows rise into place one after another from the top, so you can see how far down the list goes before you have read a word of it. Every letter after that edits the list you are already looking at. Rows that no longer match fade out, the rows that survive slide to their new places rather than blinking there, and the rows the new letter brought in fade in once the sliding has finished. A row that was fourth and is now first is visibly the same row that travelled, which is what lets you keep your eye on one result while you narrow the query around it. Deleting a letter runs the same thing backwards. Clearing the field, or typing a query nothing matches, cross-fades the whole page instead, because that is a different answer rather than the same answer rearranged.
None of that runs when Reduce motion is on. The rows simply appear in their new order.
Putting one setting back
Section titled “Putting one setting back”Almost any row you’ve moved off its shipped value grows a small restore button next to its control. Tap it and that one setting goes back to the default, without touching anything else on the screen.
The button only appears on rows you’ve actually changed, so it doubles as a map of what you’ve customised. Scroll a screen, and the rows carrying a restore button are the ones that no longer match the app’s own defaults. It takes up no room while it’s hidden, so an unchanged row keeps that width for its own name instead of holding an empty gap open. When you move the setting off its default, the button grows into place and the switch, the number or the value beside it slides along rather than jumping. A name long enough to re-wrap around the new button moves too: the word pushed onto a second line travels there, and the row grows to fit it, instead of the whole name snapping into a new shape. Putting the setting back runs the movement in reverse. On a row that also carries a ?, the restore button sits in front of it, next to the setting’s name.
Turn on Reduce motion and the button simply appears and disappears, with no growing or sliding, and names re-wrap in place. Names in Chinese, Japanese, Thai, Lao, Khmer and Burmese also re-wrap in place, since those scripts break lines between characters rather than between words.
A few rows work differently, because “the default” means something else there:
- A handful of hand-built controls carry no restore button at all: the Haptic style chips, the Sound style chips, the Popup shape picker and the Currency keys field on Key press, and the Characters that go back field on Layout & size. Clearing one of those two text fields back to blank is what restores its built-in list.
- Per-screen sizes (landscape, unfolded, tablet) don’t reset one slider at a time. The whole override goes back with Follow portrait again at the bottom of that screen’s editor, since the default for those screens is “whatever portrait does”.
- Keyboard modes, AI actions and custom layouts are things you made, not settings the app shipped. A mode’s inherited values come back by switching its own override toggles off, and a custom layout or action is reverted by deleting it.
- Lists you built (pinned tools, enabled languages, sticker packs) have their own reset actions where one exists, like Reset pinned tools on the Tools screen.
- The whole app goes back at once from Backup & restore.
Getting there directly
Section titled “Getting there directly”Two related topics live on their own pages rather than here:
- The setup card that gets WM Keyboard enabled and active, and the first-run onboarding wizard. See Enable the keyboard.
- Opening a settings screen from a launcher shortcut or a
wmkeyboard://settings/link. See Deep links & launcher shortcuts. Only seven routes are linkable this way: Typing, Appearance, Themes, Languages, Tools, Search, and AI chat.
Details & edge cases
Section titled “Details & edge cases”- A slider takes effect when you lift your finger, not on every pixel of the drag. The number beside it and the thumb follow your finger, so you can see where you are going; the setting is written once, on release, because storing a value re-reads it across the app and the keyboard, and doing that on every frame is what used to make the thumb trail behind the finger. Two places still apply the value continuously, because they draw it while you drag: the theme editor’s sliders and the sticker editor’s. The key sound’s volume and a haptic’s strength still play and buzz on every step of the drag, so you can hear or feel what you are choosing.
- Per-tool settings live on each tool’s own guide page under Tools, cross-linked from the Tools screen page. Three screens are exceptions. The sticker-pack manager and plugin manager both open from a tool’s detail screen and from Addons, since installing a sticker pack or a plugin addon lands you in the same manager, so they’re covered under Addons instead. The clipboard’s Phone number formats gets a page of its own because its mask syntax is reference material rather than a guide.
- A row that another row reveals grows into place. Switching on a setting that has more settings under it — Go back to the letters on Layout & size and its Characters that go back field, say — expands the new row open and pushes the rows below it down, and the group’s rounded ends follow it rather than snapping to the new last row. Switching back runs it in reverse. A few rows still appear and disappear in one frame: the ones a screen only draws once it has something to draw there, like a list of installed packs or a border colour that has been set. Reduce motion turns the whole thing off and the rows are simply there or not.
- Screen transitions are a 340 ms horizontal push: the arriving screen slides the whole way in from the right while the one behind it drifts a third of the way left. Both surfaces are opaque, so nothing cross-fades. Turn on reduced motion under Accessibility and that collapses to an instant cut with no animation at all.
- Every screen but Home draws a tappable path strip below its heading, one pill for each step back. Tap an earlier step to jump straight to it, instead of pressing back repeatedly.
- Every screen in this section is reachable from Home in three taps at most, and most of them in one or two. Phone number formats is the deepest, at Home → Clipboard → Phone number formats. Nothing here needs a hidden gesture or a developer option.