
Camera tool
A viewfinder inside the keyboard for quick photo capture and insertion.
The Camera tool swaps the key rows for a live viewfinder, so you can snap a photo and send it into whatever you’re typing in without ever leaving the keyboard. All editions: it’s built on plain CameraX, not ML Kit, so it ships in both editions.
Taking a photo
Section titled “Taking a photo”Open Camera from the toolbar, or the toolbox if you haven’t pinned it. Camera isn’t in the toolbar’s default pinned set on a phone, where only Emoji, Clipboard, and Settings are. So the first time, you’ll probably reach it through the toolbox or by typing its trigger keyword. See smart suggestion chips.
The viewfinder fills the width of the panel and behaves like any camera app:
- Tap anywhere to focus. A tap starts focus-and-metering at that point.
- Pinch to zoom. A zoom pill (“1.2x” style) appears top-center once you’re past 1.05x, and the pinch is clamped to whatever range the current lens supports.
- Flash: a chip on the bottom-left, shown only if the active lens reports a flash unit. Tapping it cycles Off → Auto → On.
- Self-timer: the next chip over, cycling Off → 3s → 10s → Off. Once it’s running, a large countdown digit appears at the center of the frame, with a feedback tick each second, before the shutter fires on its own.
- Front/back switch: bottom-right, and only shown if the device has both a front and a back camera. Start with the selfie camera below decides which one the tool opens on.
- Shutter: the button in the middle. Tap it to take the photo, or let the self-timer run out.
What you see is what you get
Section titled “What you see is what you get”There’s no manual crop step, no drag handles, and no filters, whatever the word “crop” suggests elsewhere. The viewfinder is taller than the visible panel, because it spills upward to fill the panel’s width at the sensor’s aspect ratio. The moment you tap the shutter, WM Keyboard slices the raw capture down to exactly the region that was on screen. What you framed is what ends up in the photo.
If you’d rather keep everything the sensor saw, turn on Send the whole photo in Options. The photo is then the full 4:3 frame, top and bottom strips included, and the confirm step fits all of it inside the panel instead of drawing it where the viewfinder had it.
The capture itself stays modest. Photos are capped at the longest edge Photo size names, which is 1000, 1600 (the default), 2400 or 3200 px, rather than the sensor’s full resolution. A photo headed straight into a chat message doesn’t need 12+ megapixels, and a smaller capture processes faster. Each shot is written to the app’s private storage as a JPEG before the confirm step appears.
Confirm, retake, or send
Section titled “Confirm, retake, or send”After the shutter fires, the frozen photo is drawn at the exact spot and size the live preview had it. The confirm screen looks identical to the moment you took the shot, apart from a Retake and Send button pair underneath.
- Retake discards the file and goes straight back to a live viewfinder.
- Send hands the photo off (see Where the photo goes below) and closes the panel back to your keys.
- Search is a third button, off by default. Turn on Search button under Search by photo and it sits after Send. It looks up what is in the photo instead of sending it. See Searching with a photo below.
If you took the photo with the front camera and Mirror selfies is on, the saved file is flipped horizontally to match what you saw while framing. Camera sensors record selfies un-mirrored by default: text reads the right way round, but the shot looks flipped against the live preview. Shutter sound and haptic feedback on the controls, timer ticks, and shutter are each their own setting. See Options.
Where the photo goes
Section titled “Where the photo goes”Tapping Send inserts the photo the same way clipboard images, GIFs, and stickers do: through Android’s commitContent API, matched against whatever image types the field you’re typing into says it accepts. If the field doesn’t advertise support for any compatible image type, the photo is copied to the system clipboard instead, with a toast:
This app does not accept images here. The keyboard copied the image. Paste it instead.
Either way, the send closes the panel and hands you back the keys.
Searching with a photo
Section titled “Searching with a photo”Saw a plant or an insect and want to know what it is? Search looks up what’s in the photo: similar pictures, the name of the thing, and pages about it. There are two ways to get the button:
- From image search. The Image search panel has a camera button beside its search bar. It opens this camera, and after the shutter the confirm step offers Retake and Search, with no Send. Back returns you to image search. This works whatever the setting below says.
- On the camera itself. Turn on Search button under Search by photo, and every photo you take gets Search next to Retake and Send.
Where Search takes the photo is up to Search with:
- Google Lens, the default. The photo opens in Lens, inside the Google app, which shows its matches right away. If the Google app isn’t installed, which is the case on most phones without Google’s apps, the share sheet opens instead.
- Web. The keyboard sends the photo to the search site you pick under Search site and opens that site’s results page in your browser. You don’t need the Google app for this. The sites are Google Lens (on the web), Bing, Yandex, TinEye, and Custom. Before the upload, the photo is scaled down to at most 1280 px on its longest side, which is about what the sites work at anyway. The keyboard shows “Sending the photo to the search site” while it uploads.
- Share sheet. Android’s own share sheet opens every time, so you pick the app: Lens, a plant identifier, a shopping app, anything that takes an image.
The panel closes once the search is on its way. If it can’t start, the photo stays on screen so you can try again or send it after all. That covers a failed upload, no app to take it, and a data saver block.
None of the search sites has a public way to upload a photo. Web does what each site’s own “search by image” button does, so a site can stop working when it changes how that works. You’ll then see “The search site did not send a results page”, and picking a different site is the fix.
Custom is for a server of your own, or any service you’d rather use. Two more fields appear when you pick it:
- Upload address: where the keyboard posts the photo, as multipart form data.
- Photo field name: the form field the photo goes in.
imageby default.
The server answers with a redirect to its results page, with the results address as the whole reply, or with JSON like {"url": "…"}. A relative address counts from the upload address. The keyboard opens only http and https addresses, whatever the server sends back.
Only Web uses the keyboard’s own network connection, so it’s the only route that answers to Data saver: it counts as a web search. On a connection where data saver asks first, the first press of Search shows “This connection is metered. To send the photo, press Search again.” and the second press sends it. Each upload appears in the network activity log as Search by photo. Lens and the share sheet give the photo to another app, and the keyboard itself sends nothing.
By default that’s the only copy that persists anywhere. The private file used to hand the image off is scratch storage, not a saved photo. On each panel open, anything beyond the four most recent capture files is deleted, which only matters if the app was killed mid-confirm. Want a permanent copy? Turn on Save to the gallery, off by default, and every photo you send or search with is also written to Pictures/WM Keyboard in your device’s shared gallery, once, even if you search with it and then send it. See your data on device for how WM Keyboard’s on-device storage is organized more generally. Capture, crop, save, and send are all local. The only time the camera tool uses the network is a search with Search with set to Web (see Searching with a photo). Network policy has the wider picture.
Granting camera access
Section titled “Granting camera access”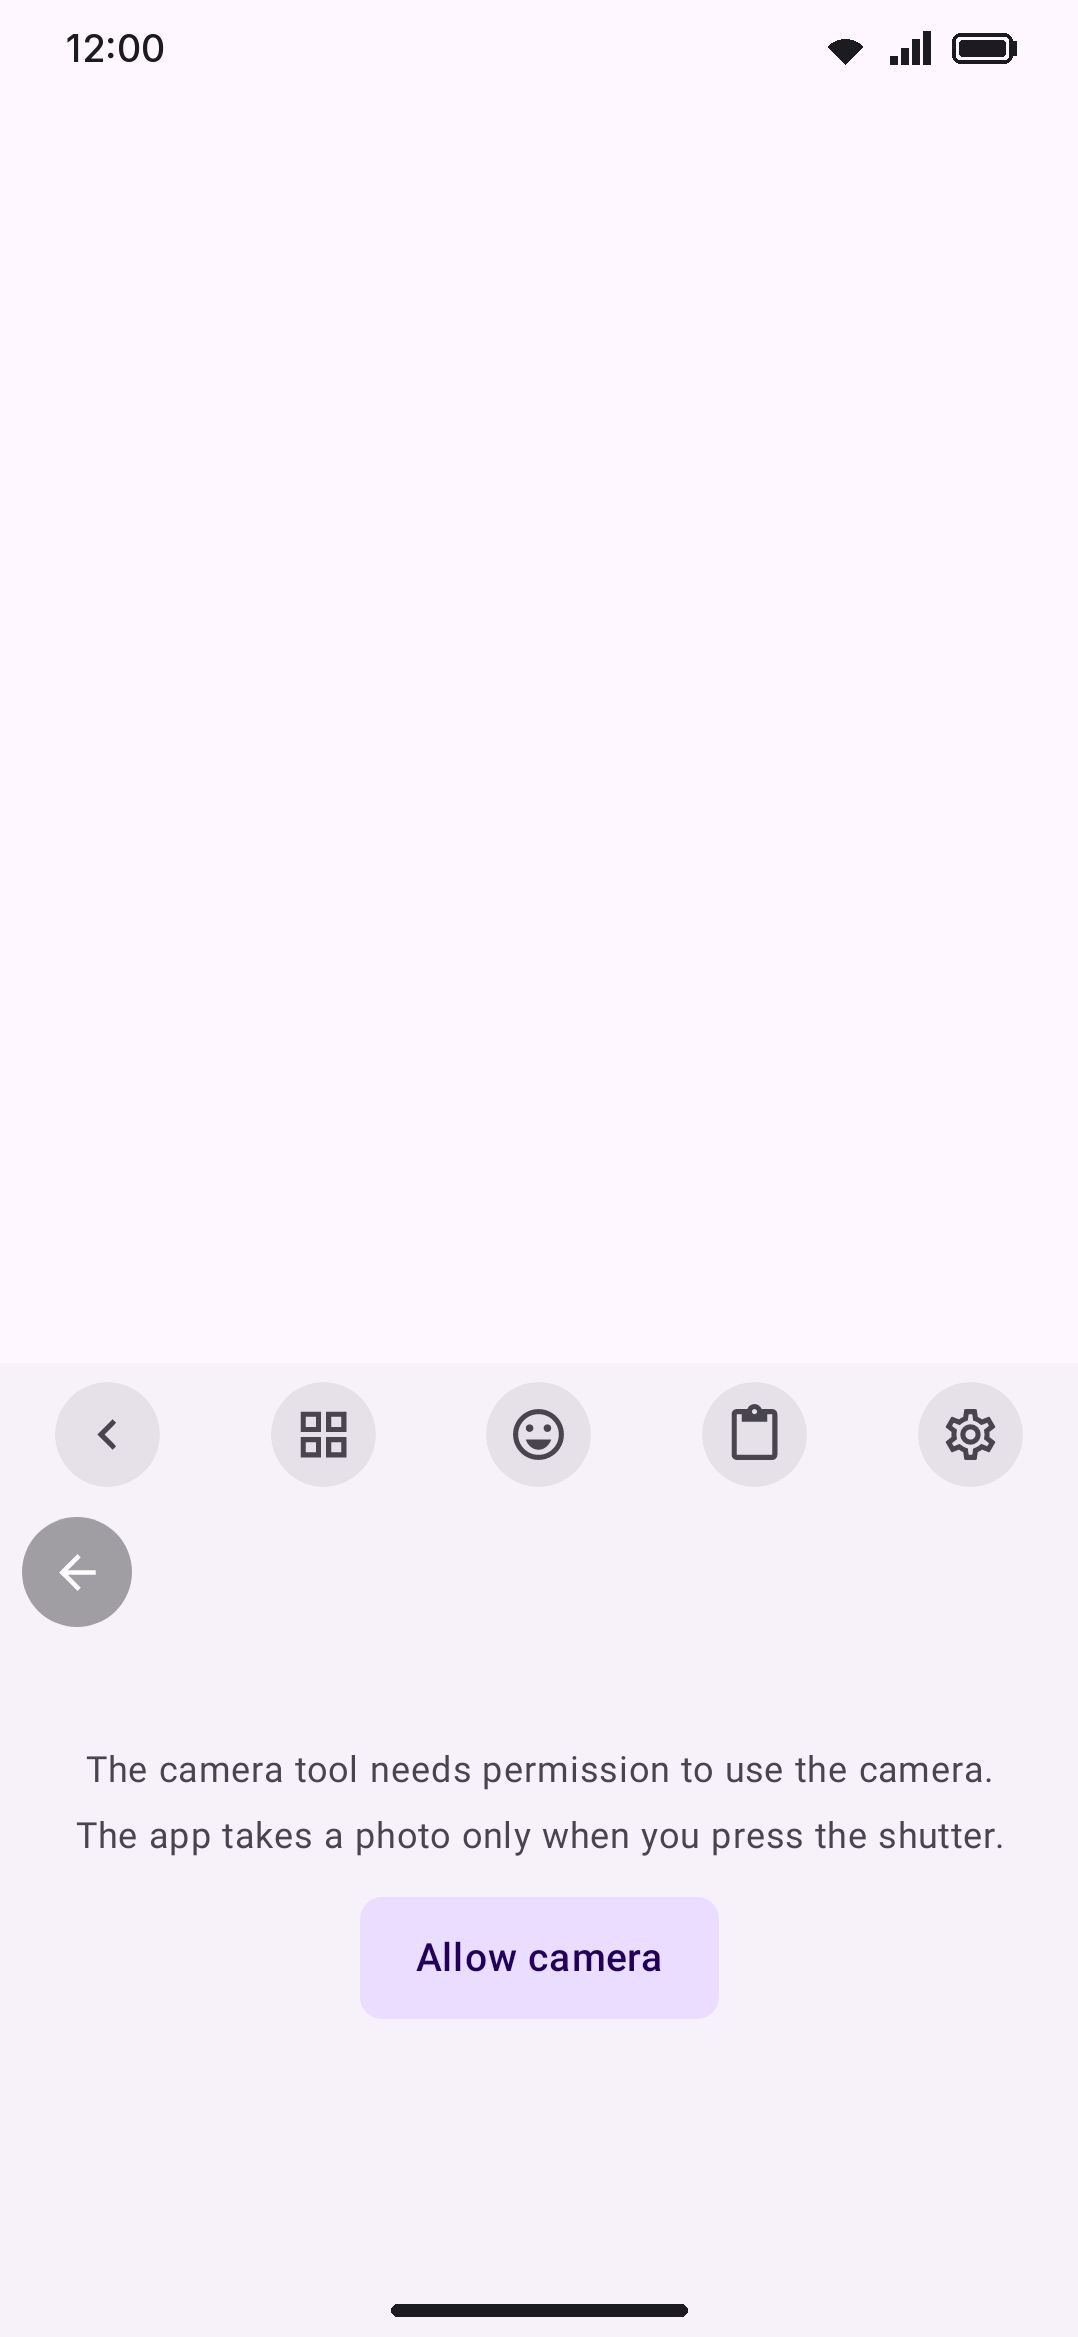
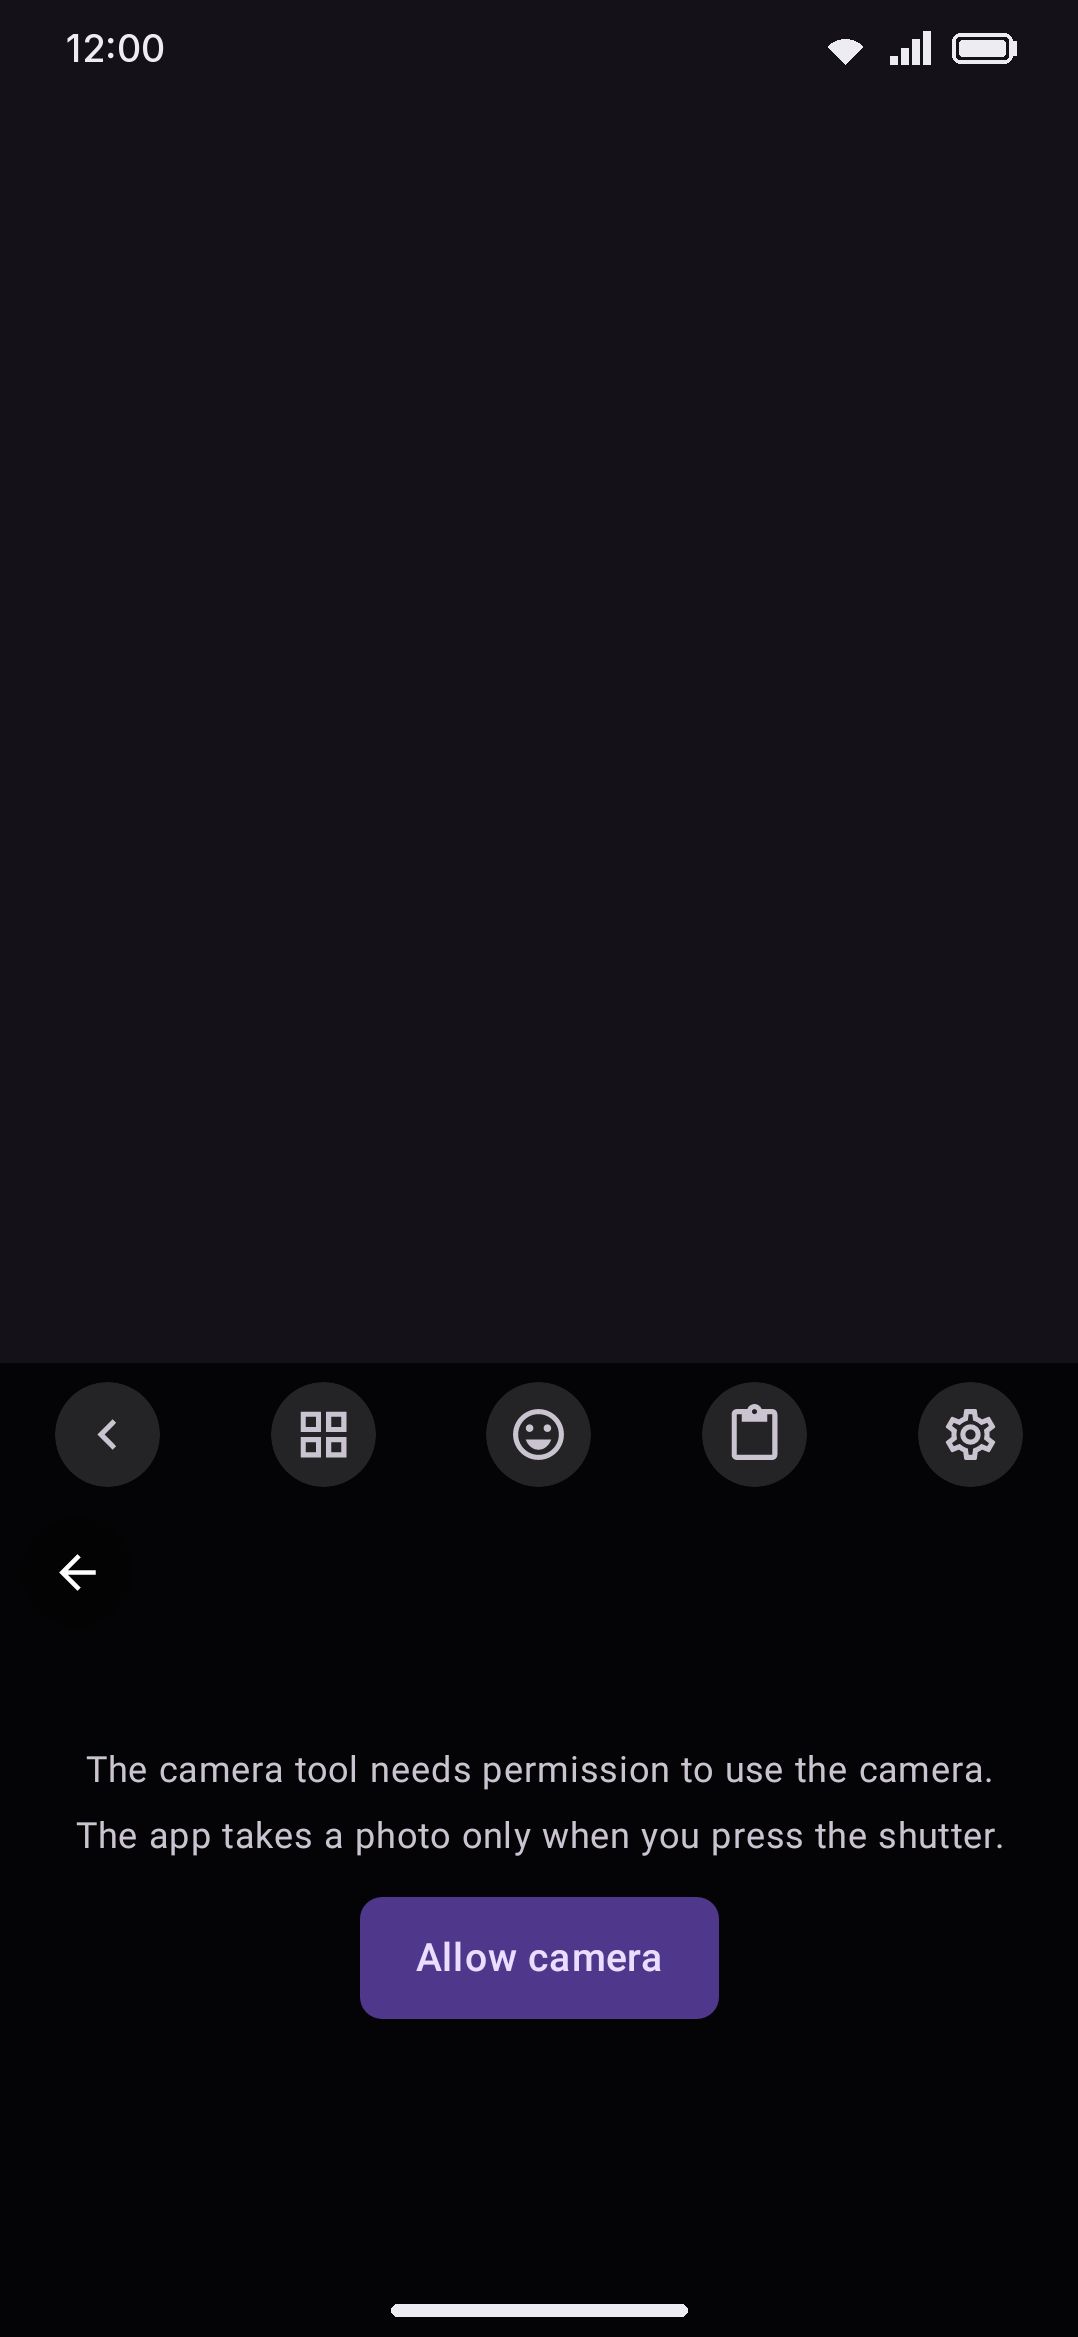
The first time you open Camera, you’ll likely see a short message instead of a live feed:
The camera tool needs permission to use the camera. The app takes a photo only when you press the shutter.
Tapping Allow camera starts a small trampoline activity that exists for one reason. An IME service cannot show Android’s runtime permission dialog itself, so this activity comes up instead. It shows a disclosure first, headed “Camera access for the camera tool”, spelling out that the camera only runs while the tool is on screen and that no photo is uploaded anywhere. Continue hands you Android’s own permission prompt. Not now leaves without asking for anything. Either way the activity closes the moment you answer, and the keyboard re-checks the permission as soon as it regains focus. You don’t need to reopen the panel.
This same trampoline is shared by the OCR and QR scanner tools: granting camera access from any one of the three covers all three, since they all request the same android.permission.CAMERA.
On a device with no camera at all, the panel shows “Your device has no camera.” in place of the viewfinder. WM Keyboard installs and runs fine either way. Nothing about the app requires a camera.
Options
Section titled “Options”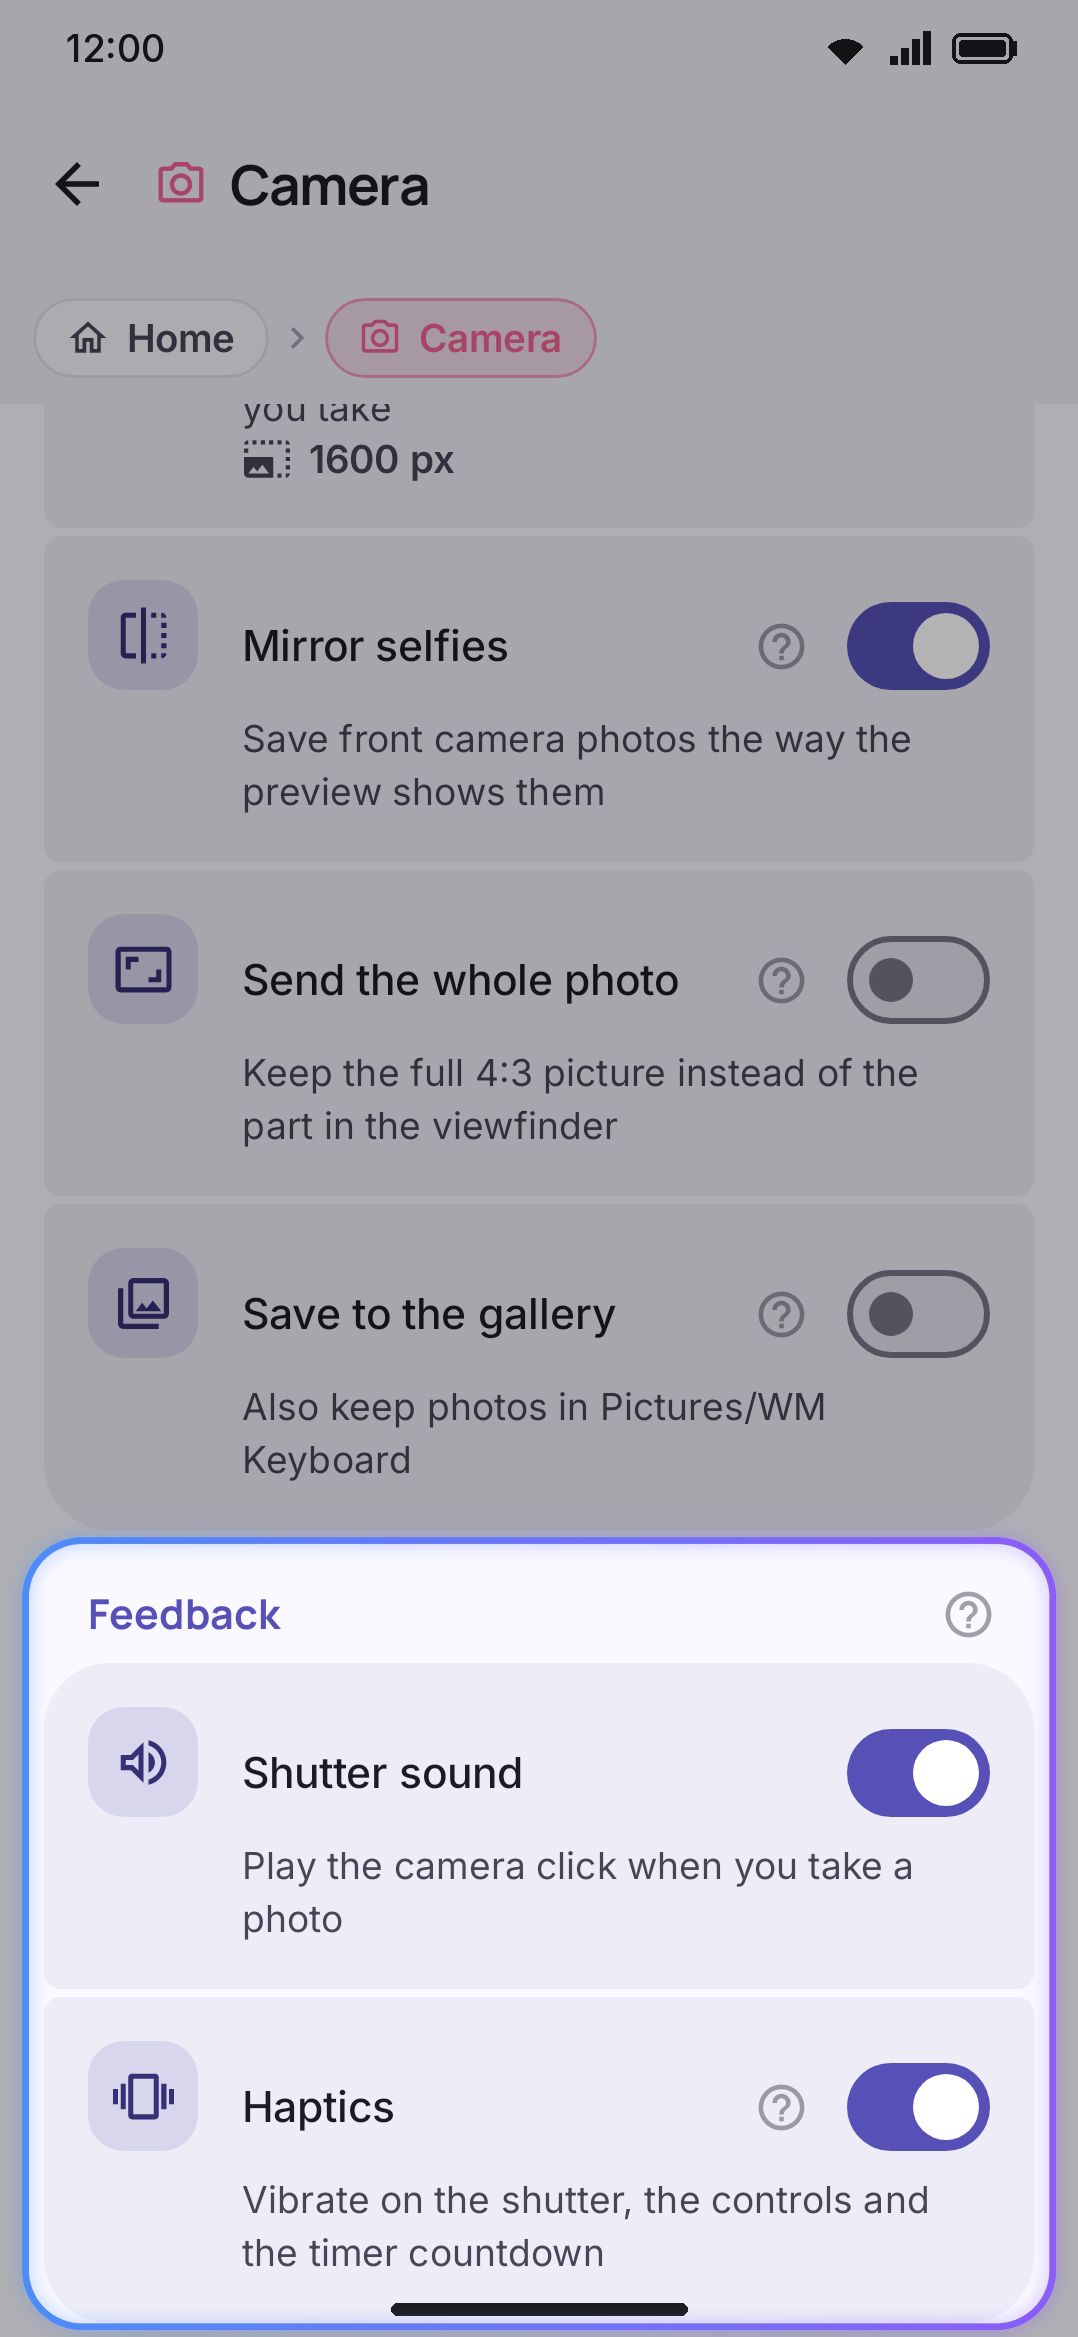
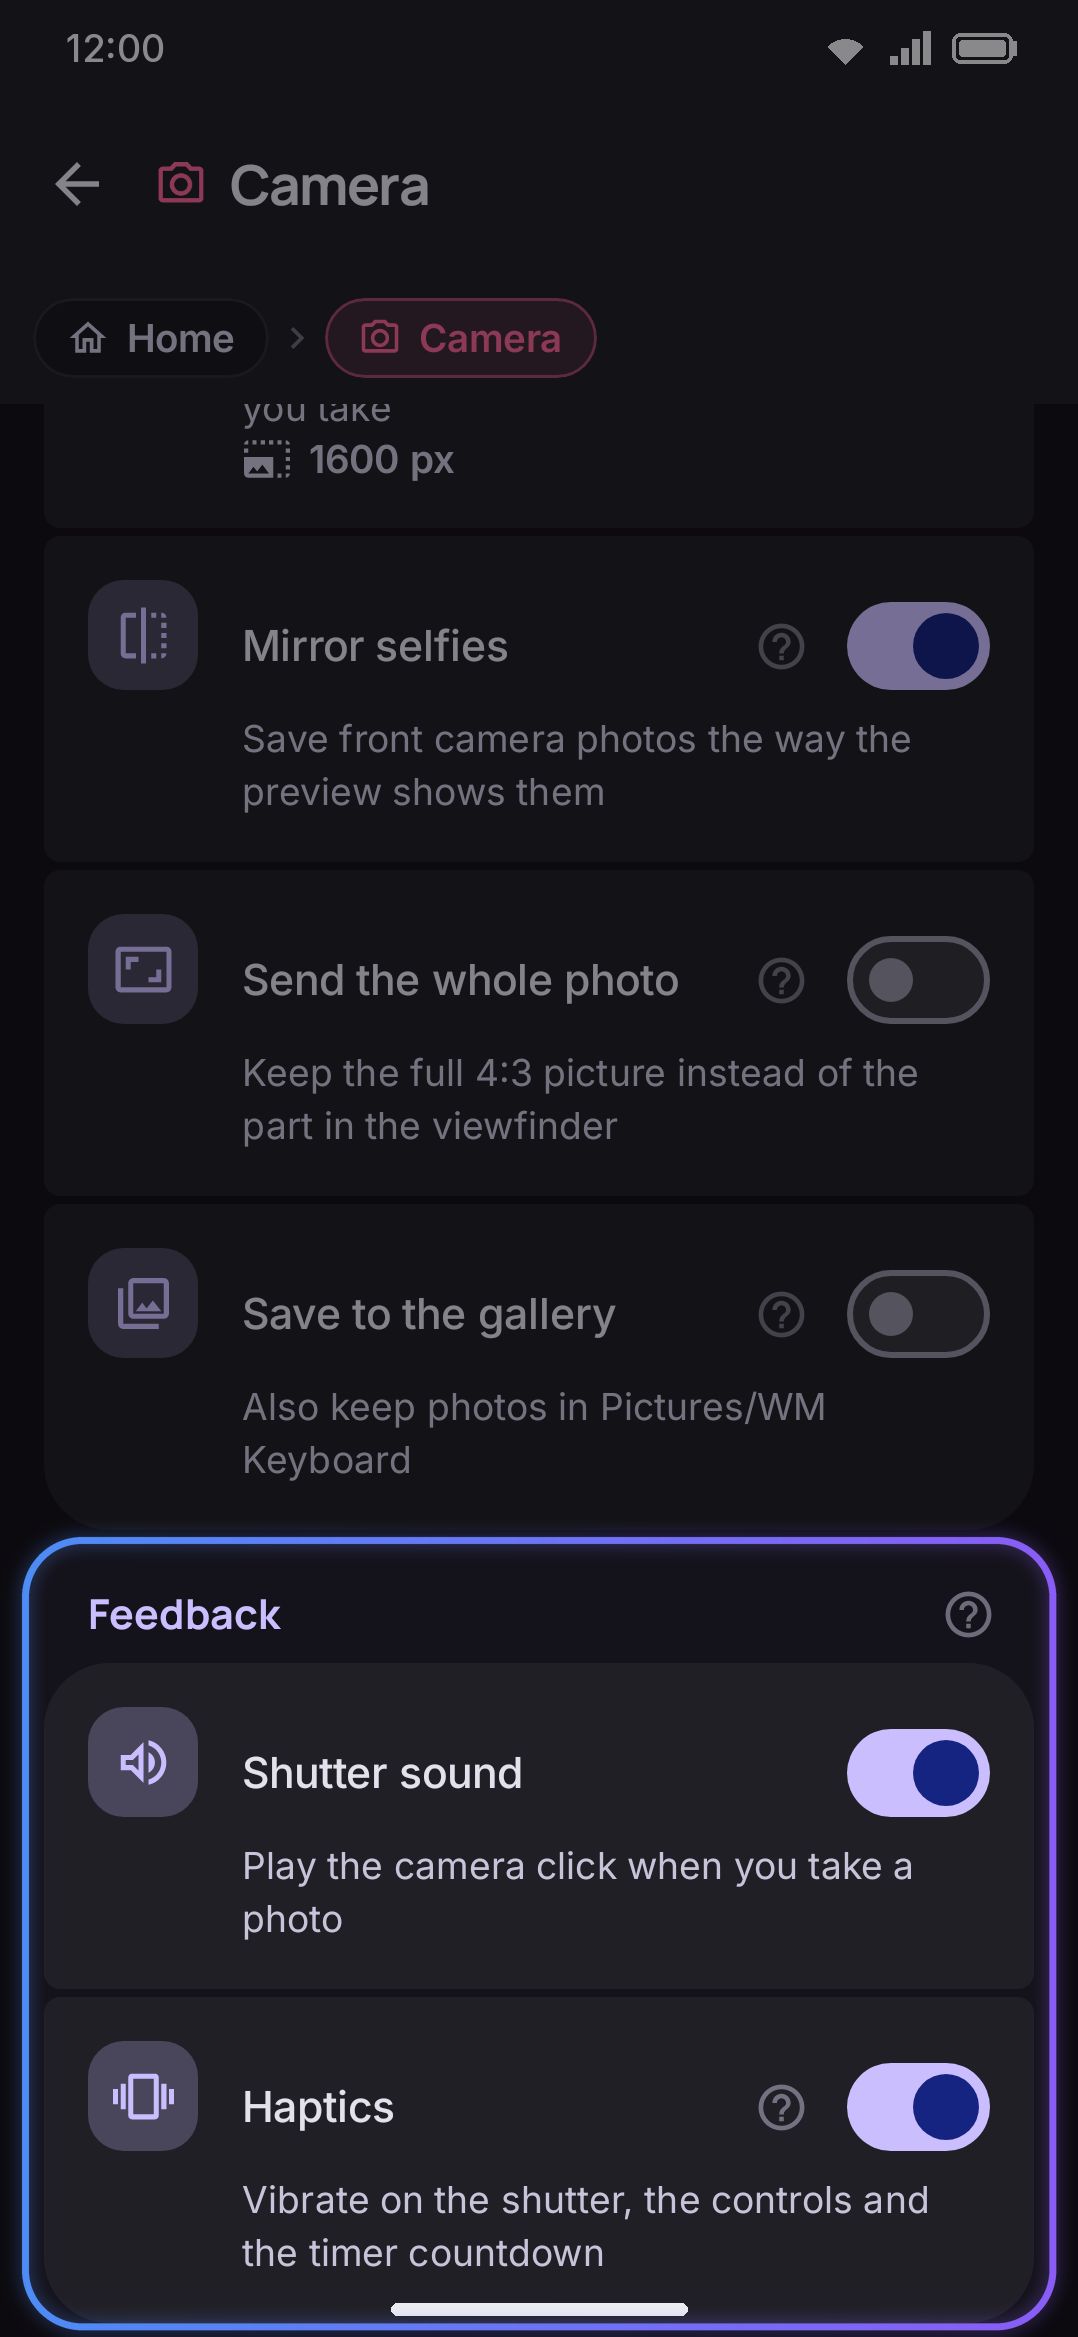
Like every tool on the full tool list, this screen opens with a Turn on switch. An Icon colour override follows it, but only while colorful tool icons are on globally. It’s pink by default, and it becomes two rows instead of one if gradient tool colours are on as well.
Under those sits the Keyword shortcut group, which every tool that ships a built-in keyword gets:
- Trigger words: a text field pre-filled with “camera”. Type that word on its own and the suggestion strip offers to open the tool, dropping the word (see smart suggestion chips). Commas separate more than one word. Clear the field and the tool stops offering itself this way.
- Match capitals: off by default, so “camera”, “Camera” and “CAMERA” all match. Turn it on and only the exact spelling in the field above counts. That’s worth doing for a short trigger word that’s also ordinary text.
- Reset to defaults: only appears once you’ve edited the trigger words, and puts them back to “camera”. Its subtitle shows what you’d be going back to.
The tool’s own settings, split into two groups:
Options
- Start with the selfie camera: off by default. Opens the panel on the front camera instead of the back one.
- Self-timer: Off by default. The timer the panel opens on, so a habitual 3s user doesn’t re-pick it every time. The in-panel chip still steps Off → 3s → 10s.
- Photo size: 1600 px by default, from a choice of 1000, 1600, 2400 and 3200. It’s the longest edge of the photos you take, and the camera picks the closest size its sensor offers. Larger photos hold more detail, which matters for a picture of a document somebody has to read, and they take longer to capture and to send.
- Mirror selfies: on by default. See Confirm, retake, or send above for what this does and why it exists.
- Send the whole photo: off by default. It skips the crop described in What you see is what you get and sends the full 4:3 frame, including the strips that ran off the top and bottom of the screen. The live viewfinder is unchanged, so this is the one case where the photo holds more than you framed. The confirm step fits the whole picture inside the panel so you can see what you’re about to send.
- Save to the gallery: off by default. Also copies every capture into
Pictures/WM Keyboard, on top of sending it.
- Search button: off by default. Adds Search after Retake and Send on the confirm step. The camera button in image search offers Search whatever this says.
- Search with: Google Lens by default, then Web and Share sheet. See Searching with a photo for what each does.
- Search site: shown only while Search with is Web. Google Lens by default, then Bing, Yandex, TinEye and Custom.
- Upload address and Photo field name: shown only for Custom. Where your server takes the photo, and the form field it reads.
Feedback
- Shutter sound: on by default. Plays the camera click when a photo is taken.
- Haptics: on by default. Vibrates on the shutter, the controls, and the timer countdown. It only gates feedback inside the panel itself. The final vibration when you tap Send is the keyboard’s regular key-press haptic, controlled separately under Typing → Feedback.
Details & edge cases
Section titled “Details & edge cases”- No manual crop, no filters, no multi-shot. One photo per open of the panel. Retaking replaces rather than appends.
- Search isn’t an in-keyboard result list. Every search route ends in another app or in your browser, which is where the results are worth reading. Nothing comes back into the field you’re typing in.
- Not pinned or recommended by default. Camera ships enabled, but it isn’t in the toolbar’s default pinned set and isn’t part of the onboarding wizard’s “Recommended” starter selection either. If you went through setup and picked “Recommended” rather than “Everything” on the tools page, you’ll need to turn Camera on yourself under Settings → Tools.
- No direct-boot support. Camera doesn’t work on the lock screen before you’ve unlocked your device once after a restart, since it depends on the app’s private storage, which isn’t available that early.
- Both editions, no gating. The OCR, QR, document-scan, and handwriting tools are full-edition-only, because they depend on Google ML Kit. Camera has no edition restriction anywhere in its code path.