A two-minute tour
The suggestion strip, toolbar, emoji, tools and settings: where everything lives.
WM Keyboard looks like a normal keyboard until you need more. Then a toolbar, a panel, or a long-press gets you there. This page walks the layout so nothing feels hidden.
The anatomy
Section titled “The anatomy”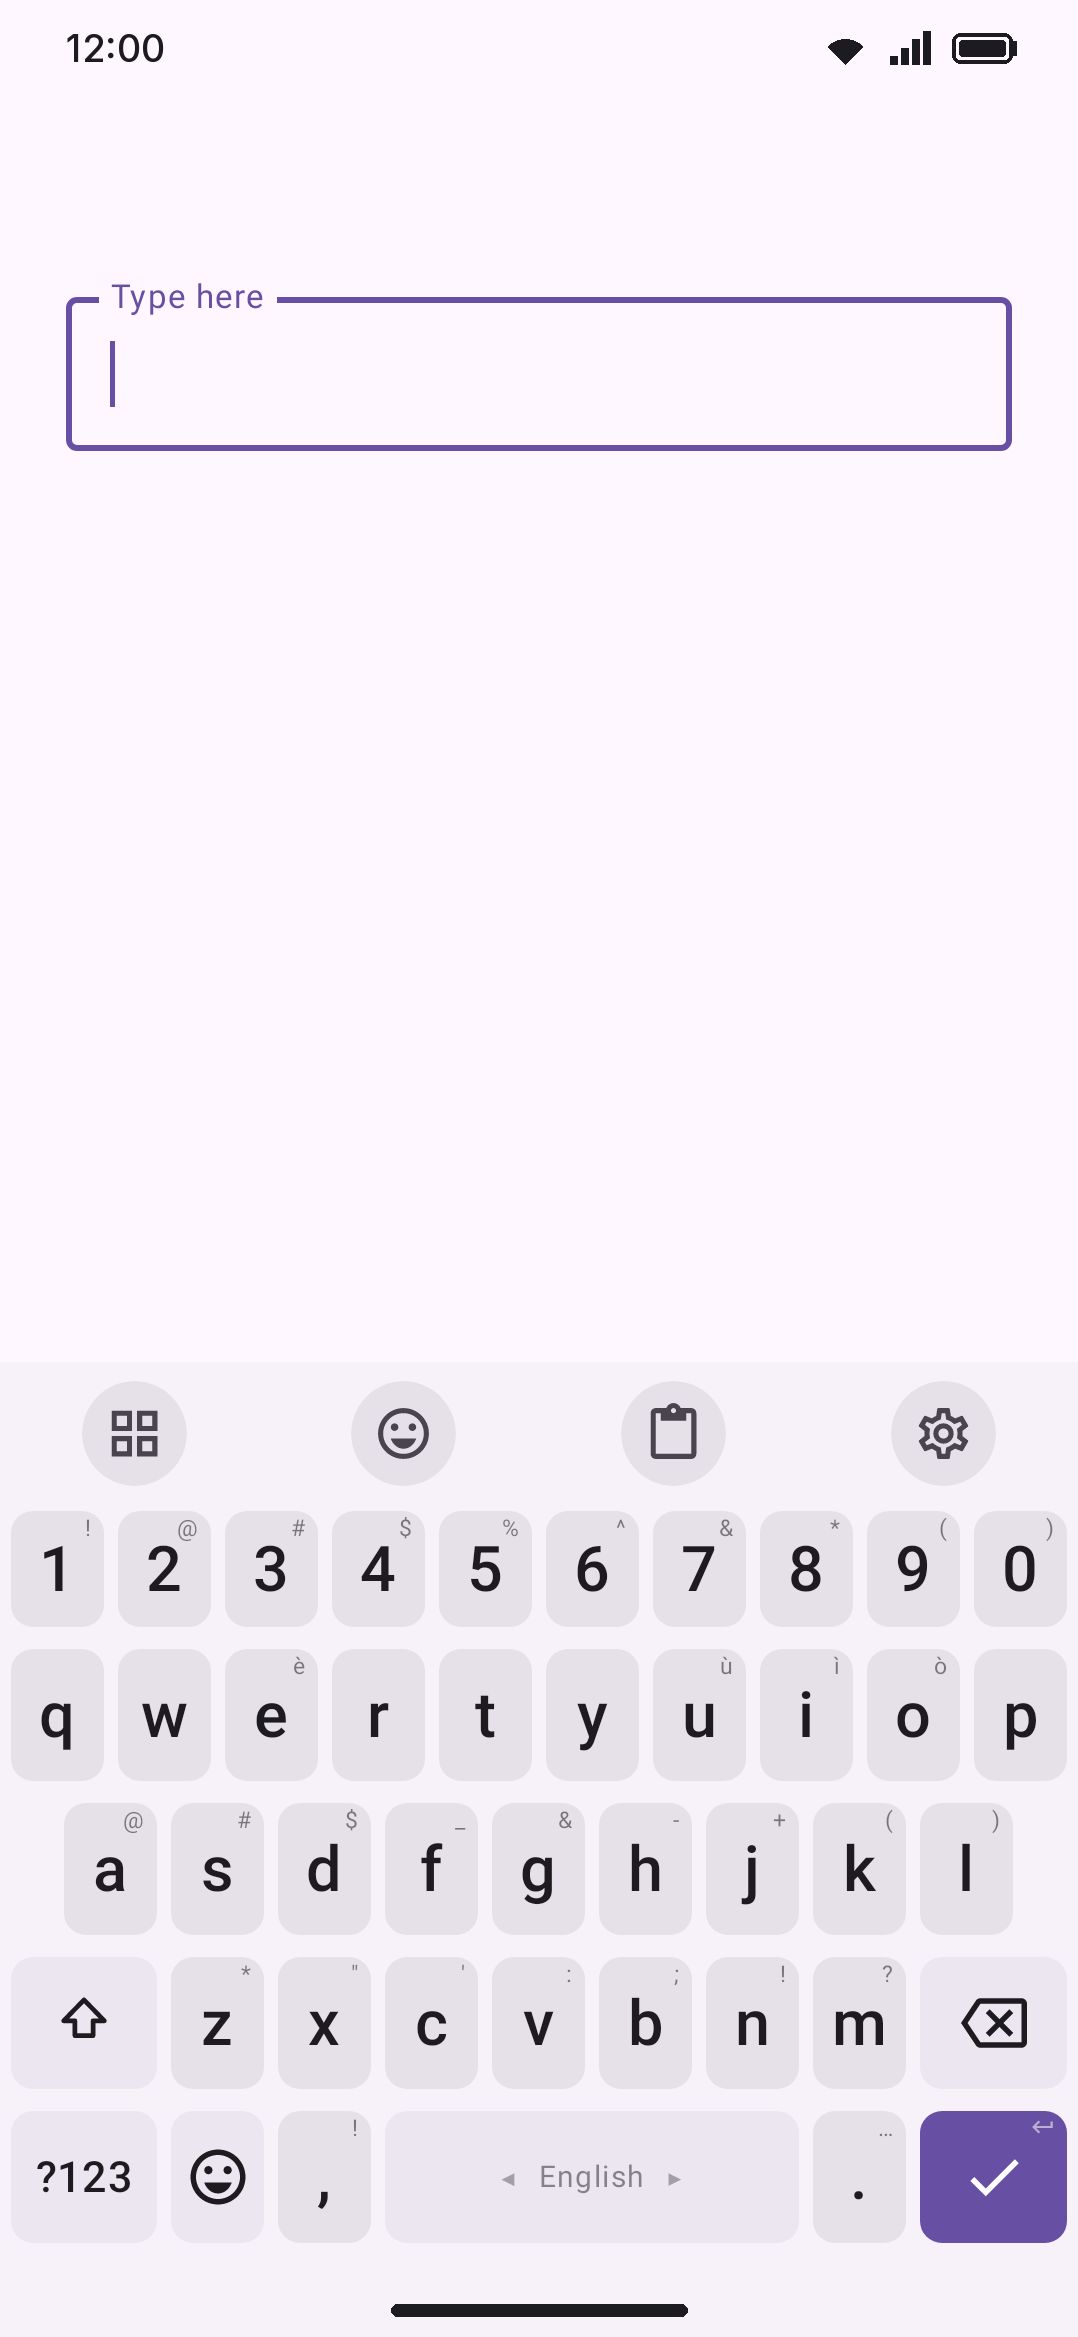
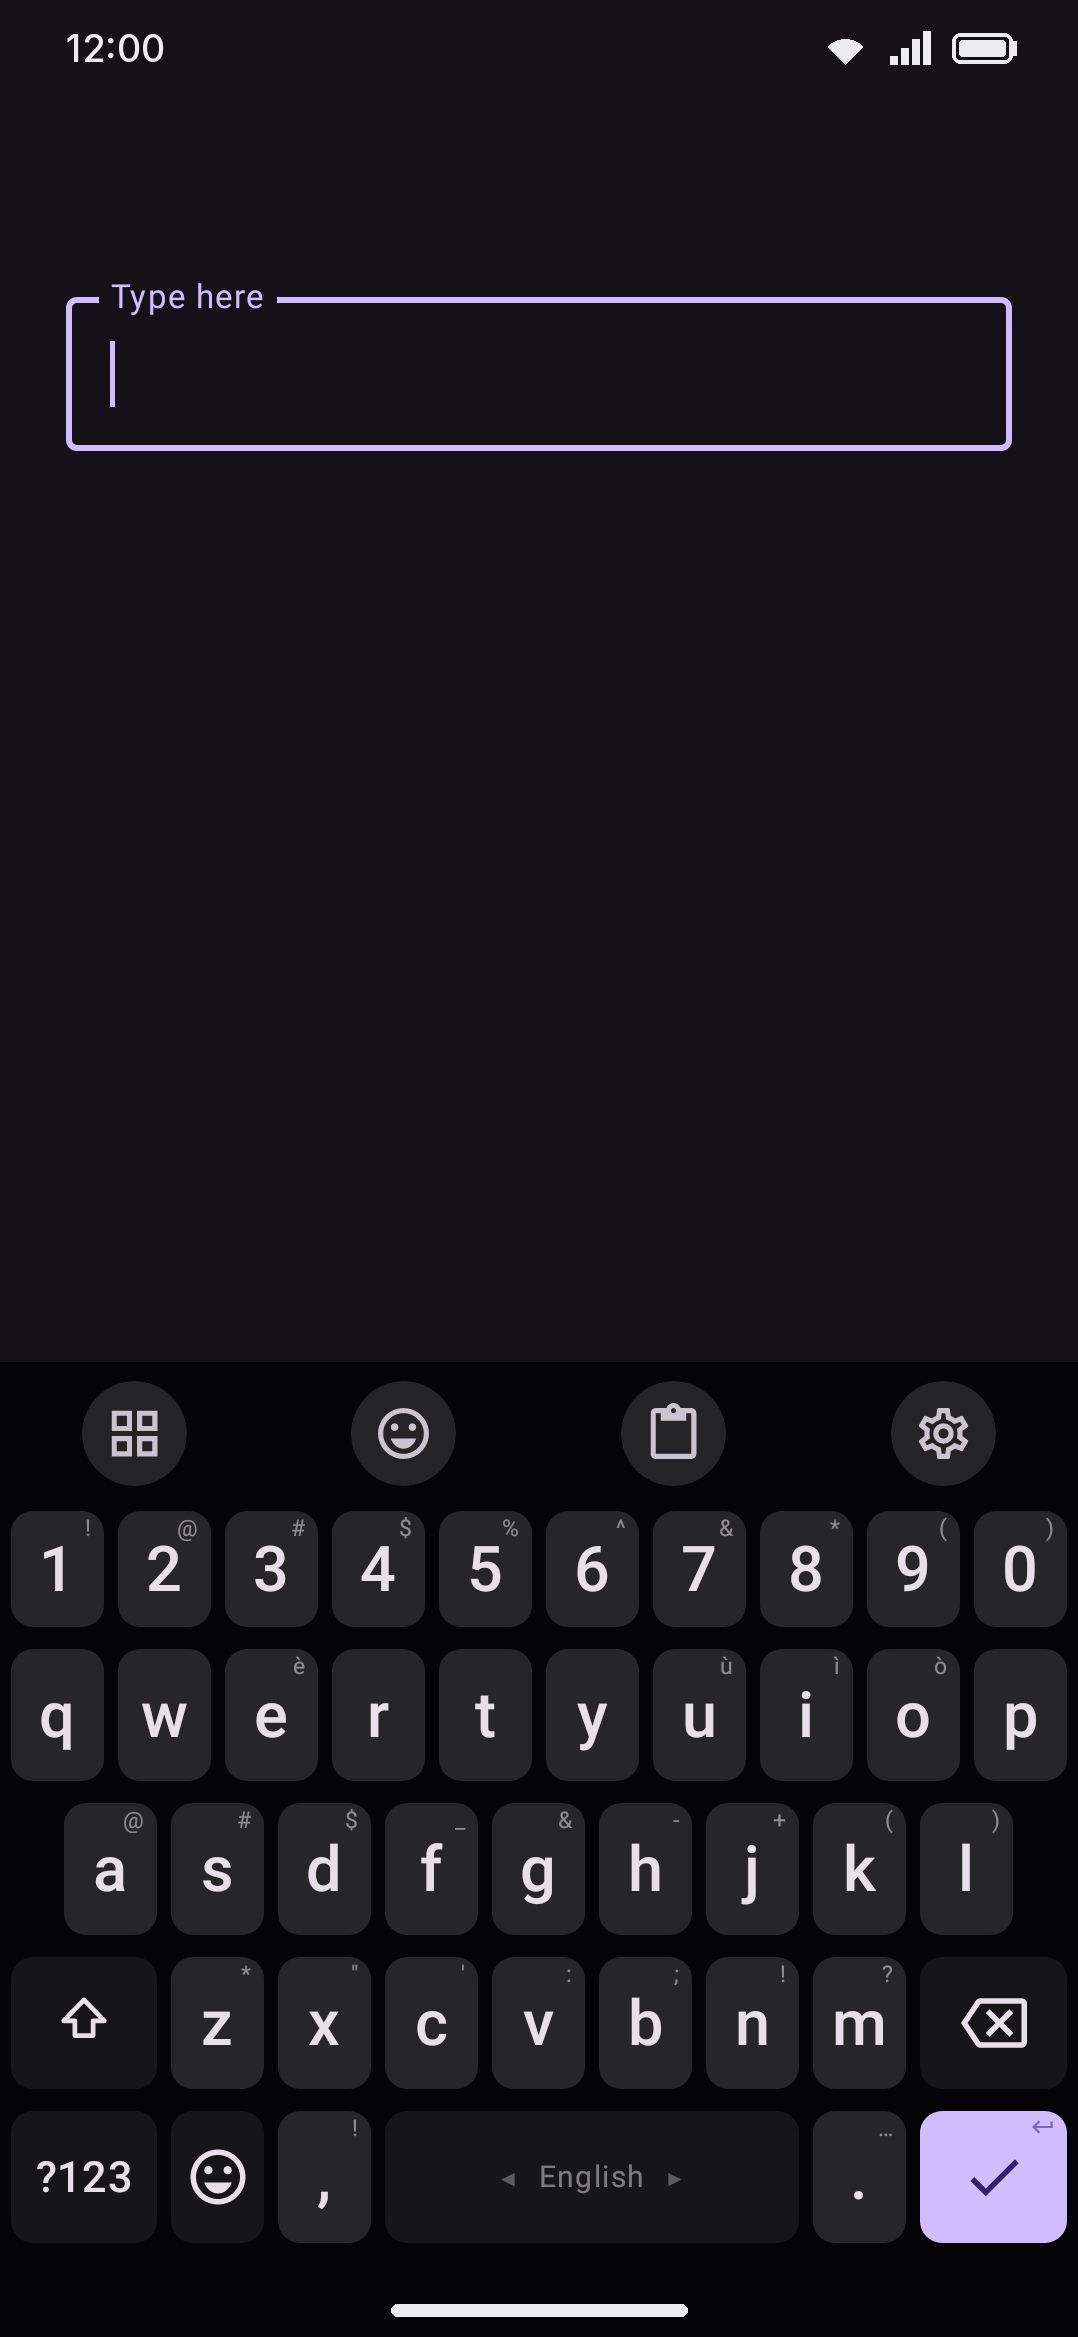
The keyboard is built from a small set of stacked bars, plus the key area itself:
- The top bar does double duty as either the suggestion strip or the toolbar, never both at once. Before you type anything, and whenever there’s nothing to suggest, it shows the toolbar. Once there are candidates, it shows those instead.
- The key area fills the rest of the height with the current layout’s keys. Opening almost any tool swaps this area out for that tool’s panel. See Panels replace the keys below.
- A symbol row (a strip of quick symbols like currency or arrows, with a set picker) is available but off by default. Turn it on from WM KeyboardRows & barsSymbol row, and see Rows & bars for the full set list.
- A dedicated emoji row above the keys is also available but off by default. Switch it on from WM KeyboardEmojiEmoji row: Button adds a toolbar toggle that flips the top bar over to show emoji in place of suggestions, or Own row keeps it permanently visible. See Emoji settings for both modes.
Don’t confuse this opt-in symbol row with the ?123 key, which cycles the whole key grid to a symbols layer, or with the Symbols tool, which opens a full-screen browser of the entire Unicode symbol catalog from the toolbox. All three are covered on their own pages: Rows & bars for the row, Tools overview for the toolbox entry.
Using the toolbar
Section titled “Using the toolbar”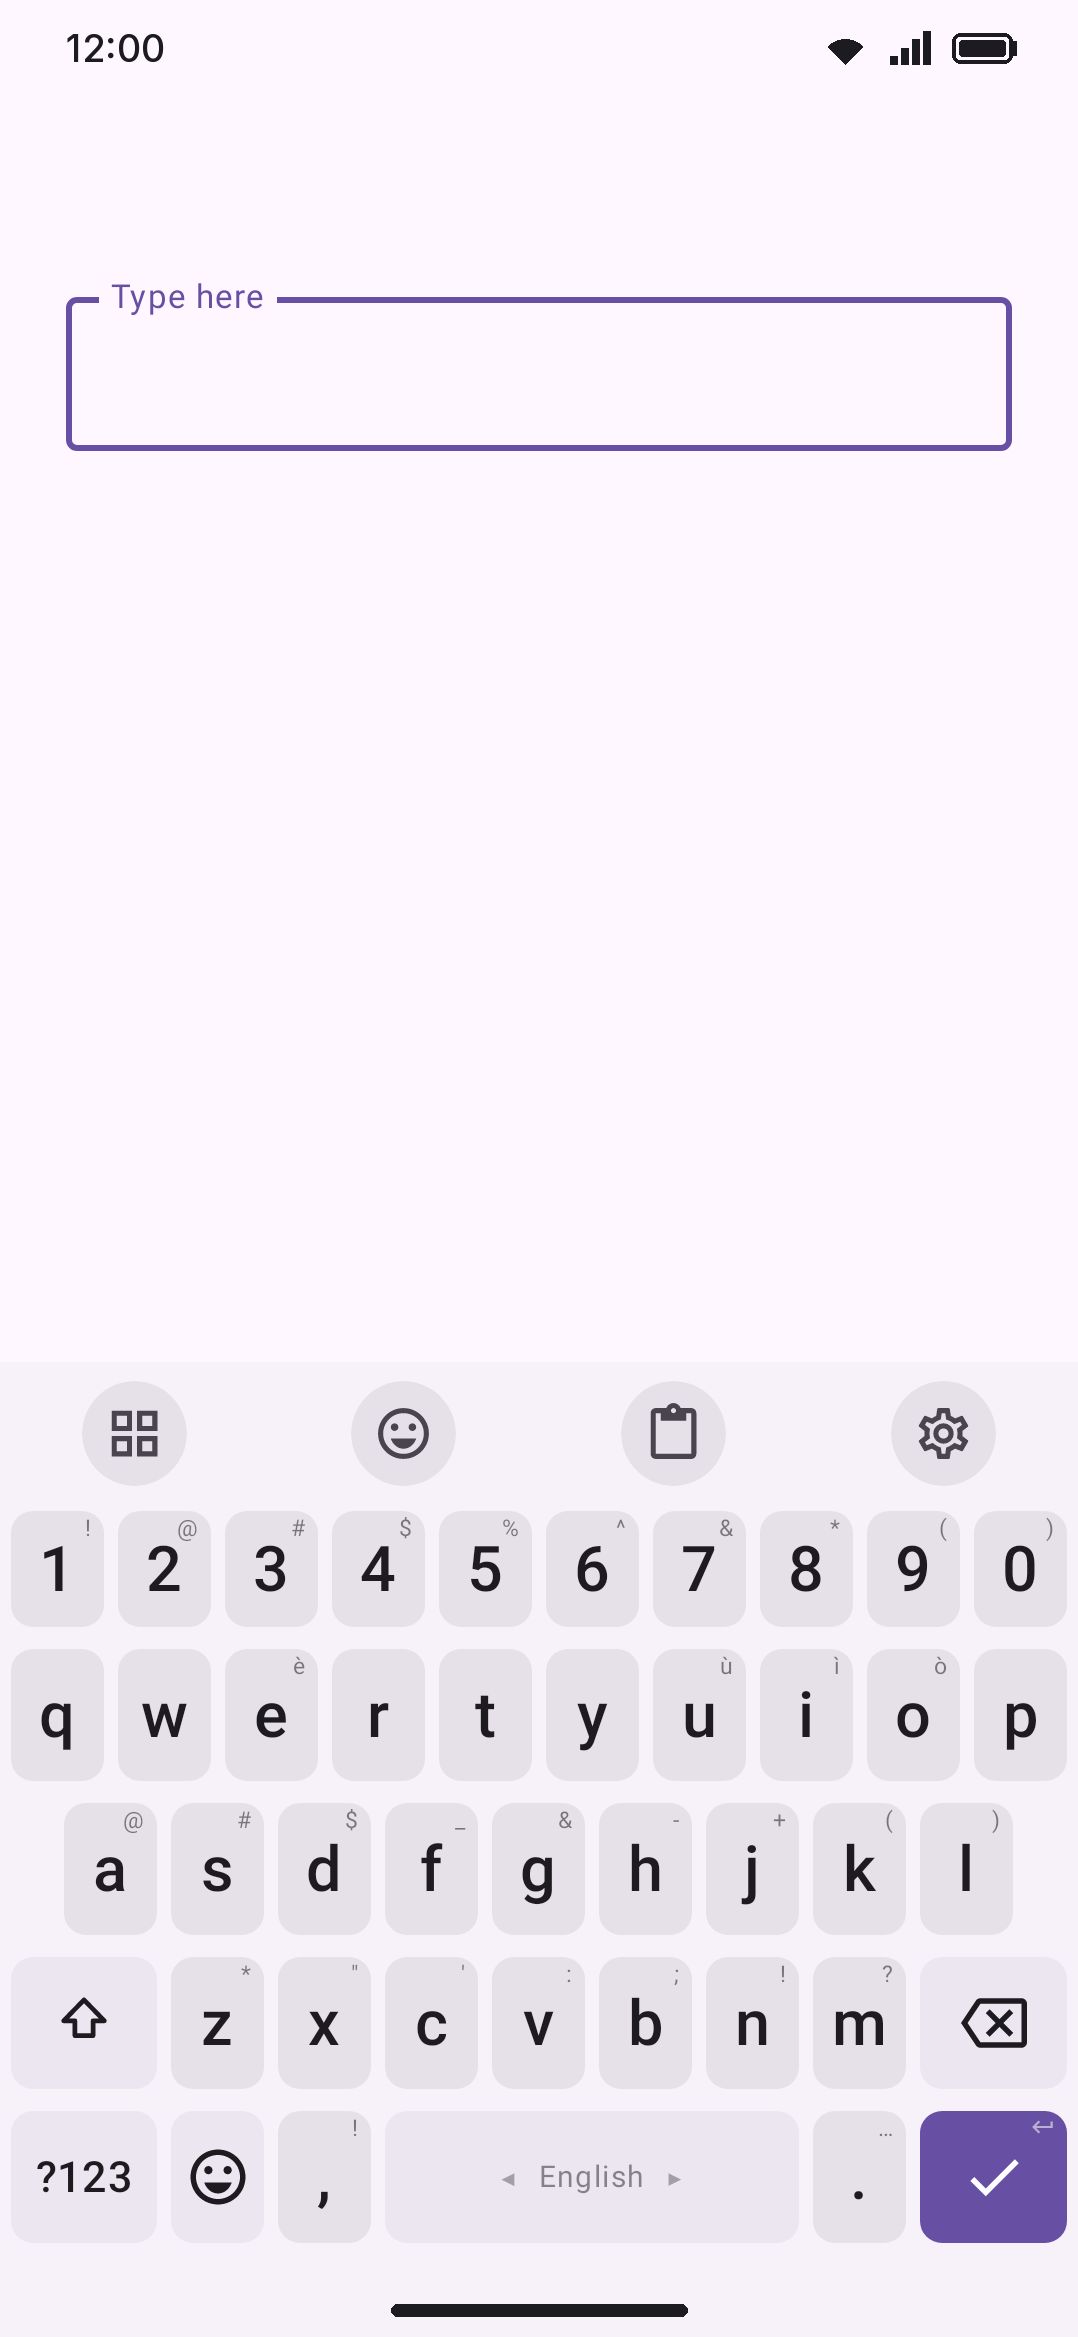
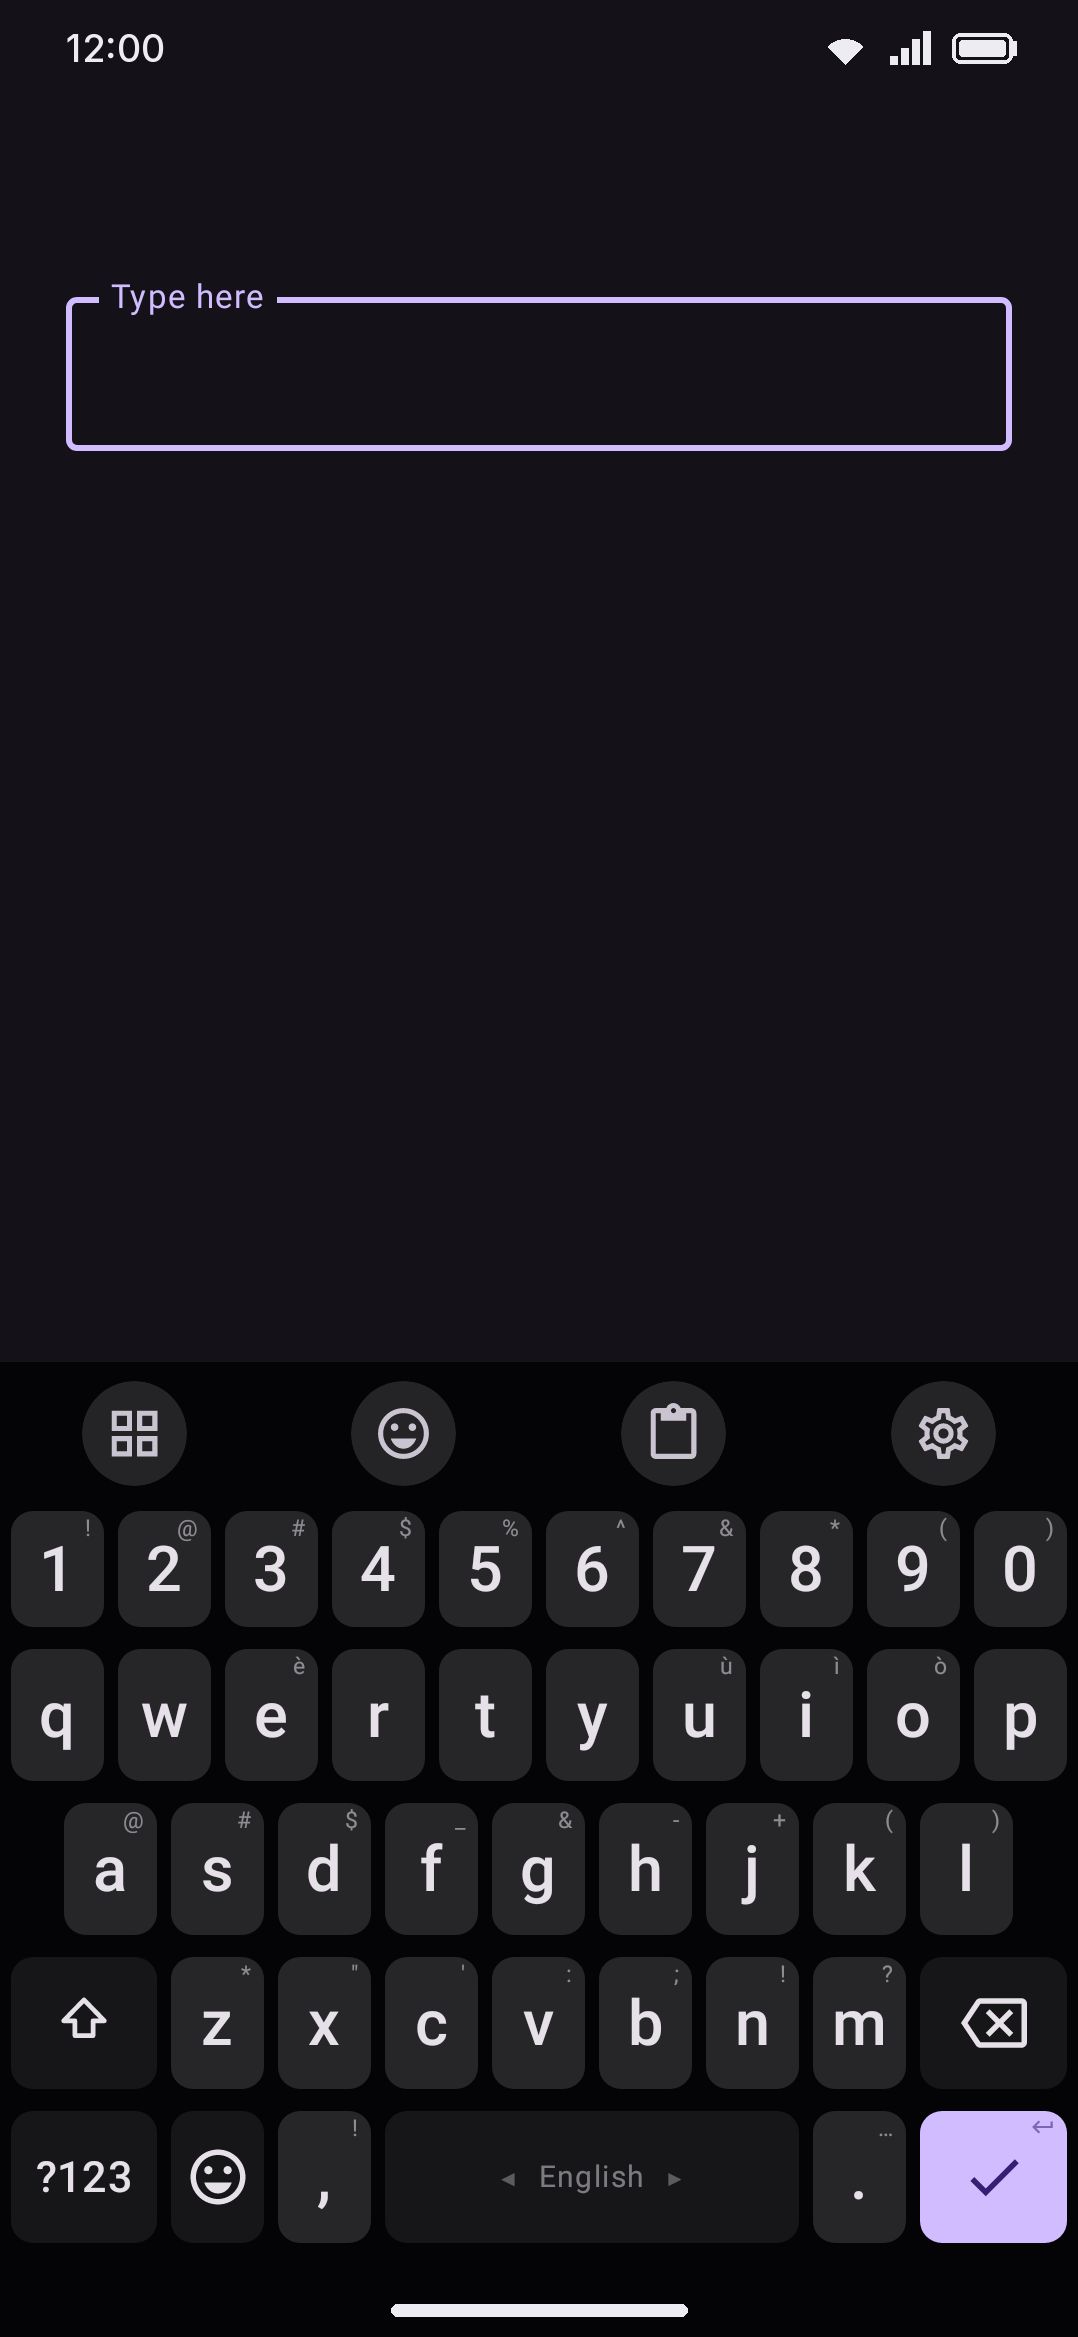
Reading left to right, the toolbar has:
- A back arrow, shown only while a panel is open, that returns you to the keys.
- A Toolbox button (the grid icon) that opens a grid of every tool you have enabled.
- Your pinned tools: the small set of tools that live directly on the bar.
Out of the box a phone pins three tools: Emoji, Clipboard, and Settings. A tablet starts wider, with five on a small tablet (adding GIF and Voice) and seven on a large one (adding Translate and Text edit). See Size & position for the tablet defaults.
Everything else (GIFs, translation, the calculator, sensors, scanners, and dozens more) lives one tap away in the Toolbox grid, four columns wide and ordered roughly by how often people reach for each tool. The Toolbox’s first-run hint explains the gesture. Hold a tool in the grid and drag it onto the toolbar to pin it. Drag a tool inside the grid to reorder it. Drag a pinned tool back down into the grid to unpin it.
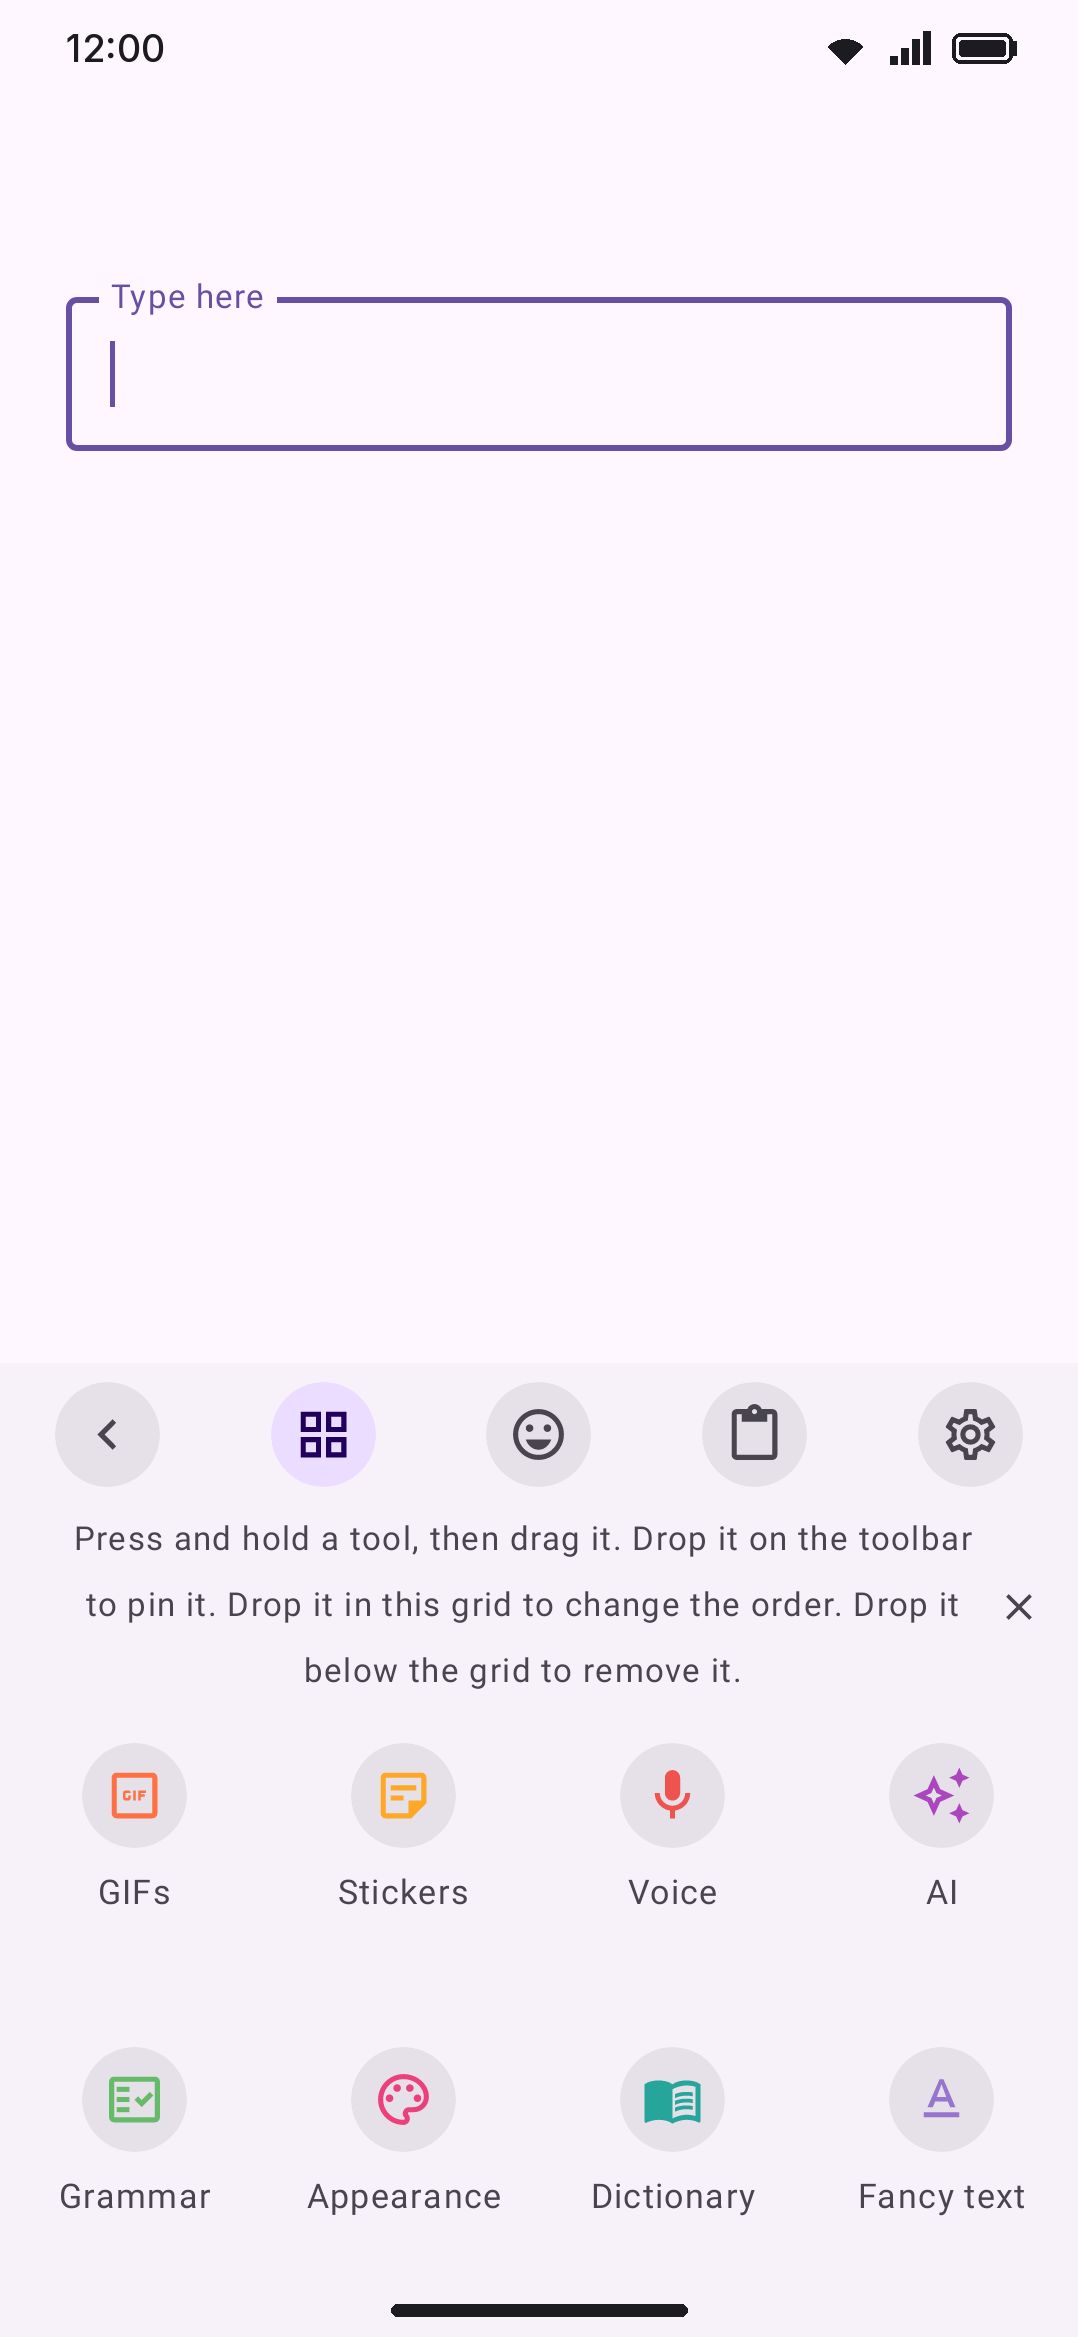
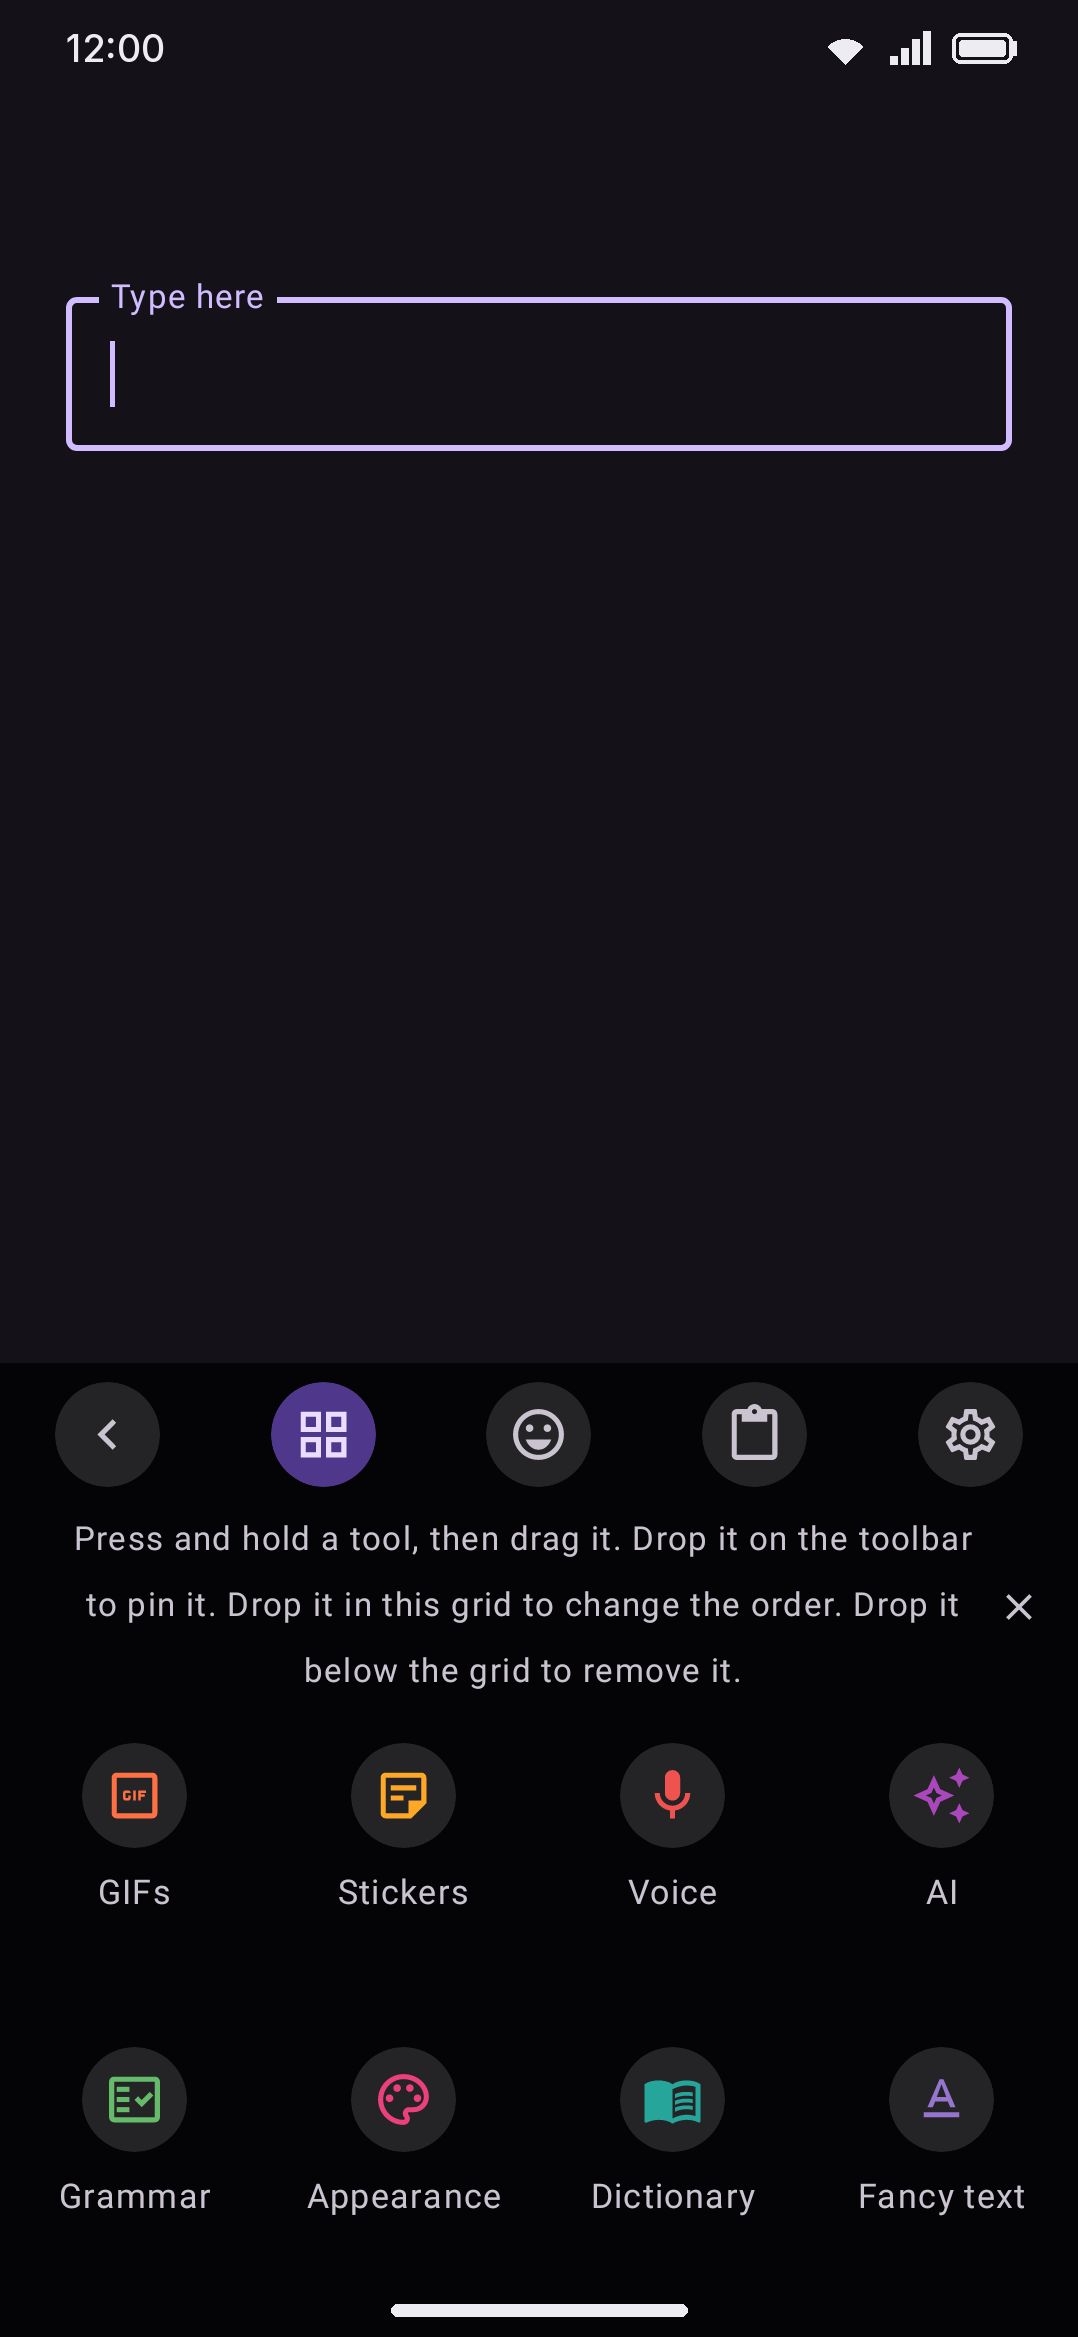
During onboarding you can widen this from a “Recommended” starter set to everything. That only changes which tools are available in the Toolbox. It adds nothing to the pinned bar. To keep more tools within one tap, drag them up yourself. See Tools overview for what each one does, and WM KeyboardTools to manage the enabled set later.
Panels replace the keys
Section titled “Panels replace the keys”Tap a tool and the key area almost always becomes that tool’s panel. The keyboard doesn’t get taller. It reuses the space the keys were sitting in. Most panels take the toolbar row as well, so the tool gets the keyboard’s full height: Emoji, GIFs, stickers, Clipboard, Translate, Themes, the calculator and the rest. Others, the Toolbox and Text editing among them, leave the toolbar in place above them, so you can hop to a different tool without backing out first. Emoji, the media panels and Clipboard each have their own switch for this, all three on by default, so you can hand any of them back to the toolbar. Either way, a back chevron returns you to typing. It sits in the toolbar on panels that keep the toolbar, and in the panel’s own header when the toolbar has stepped aside.
Long-press for more
Section titled “Long-press for more”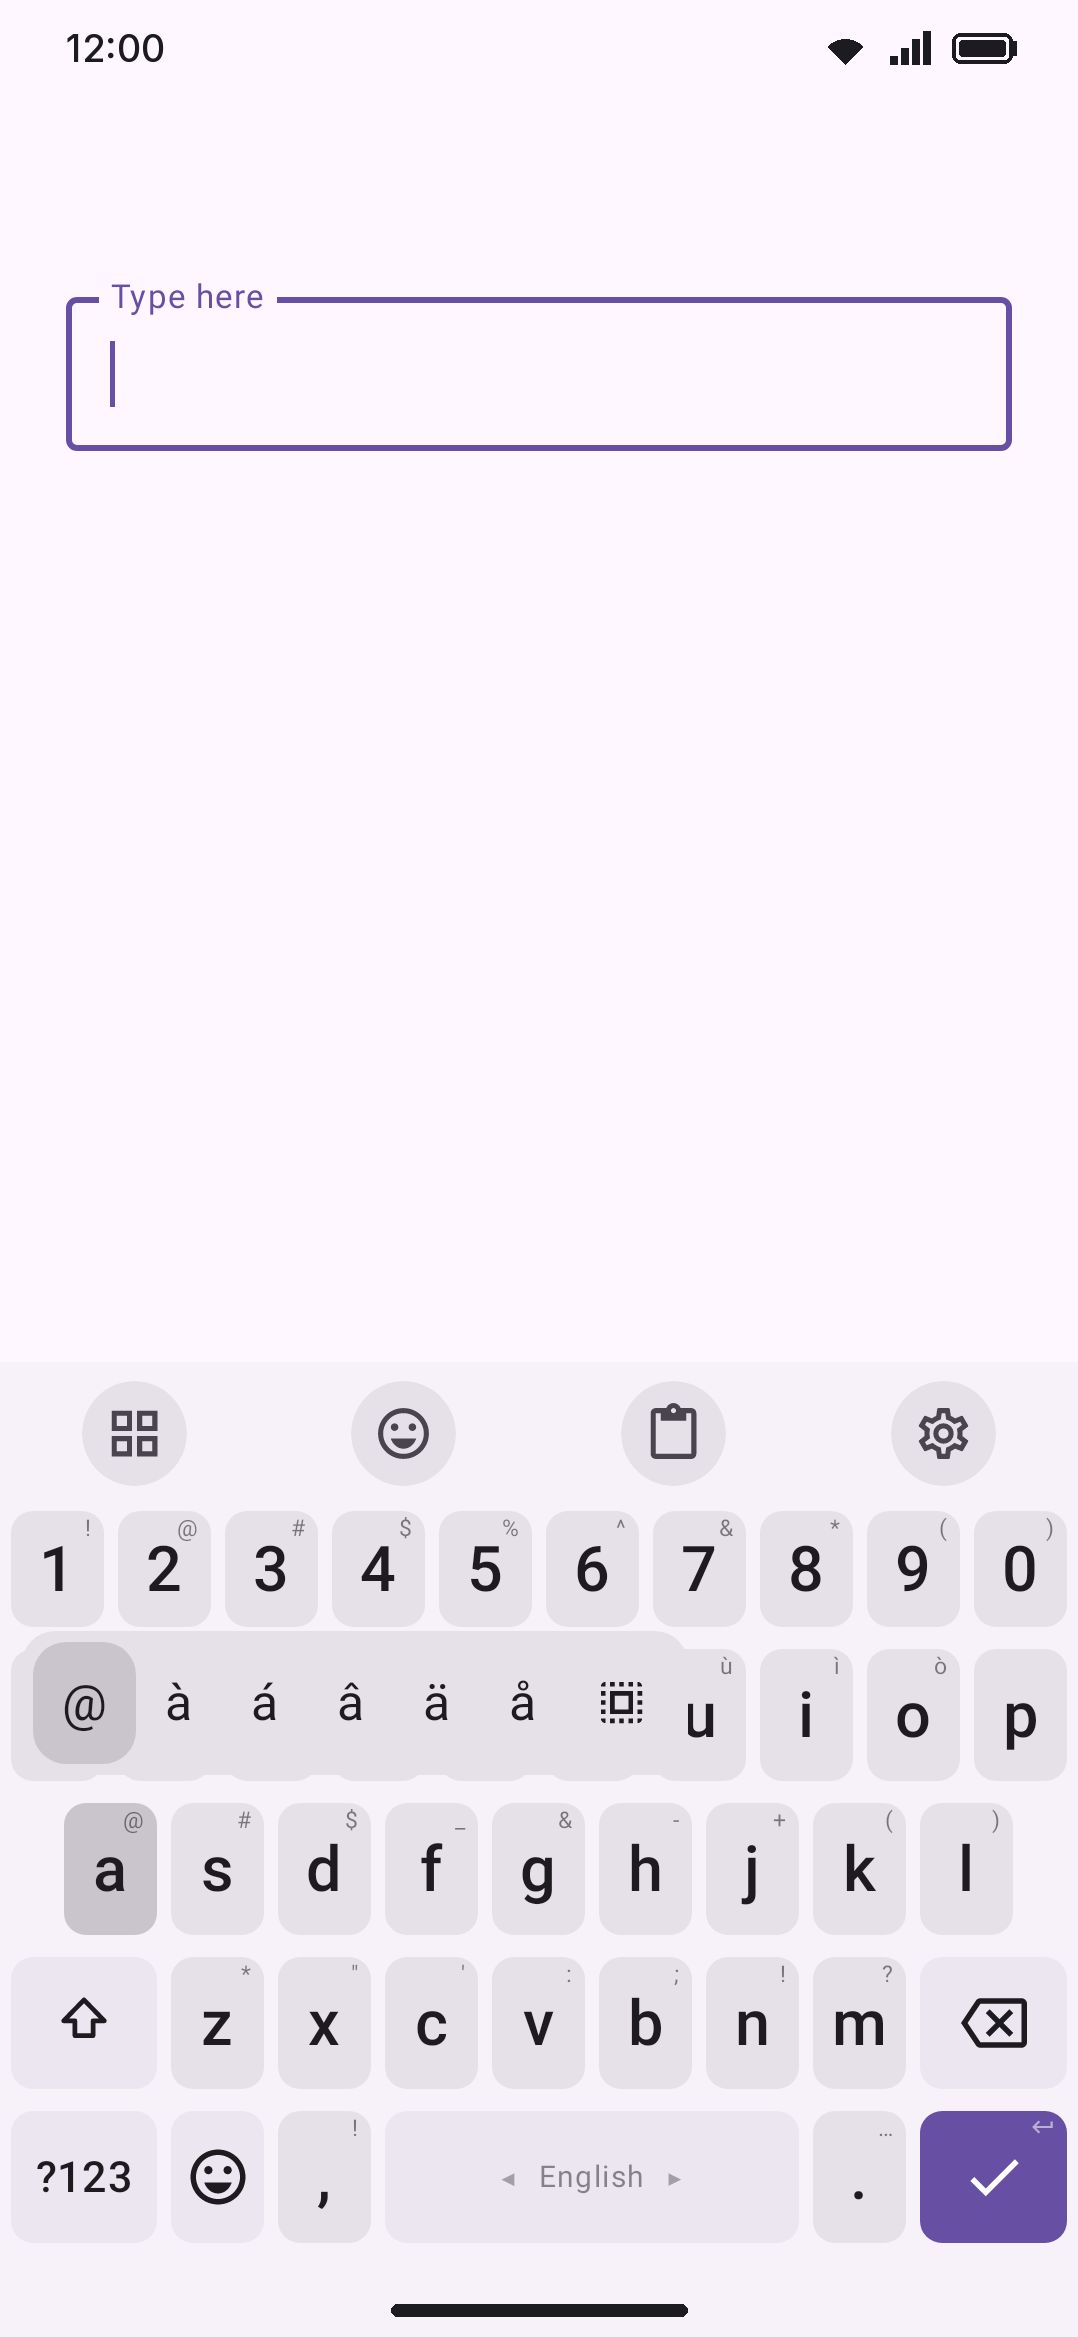
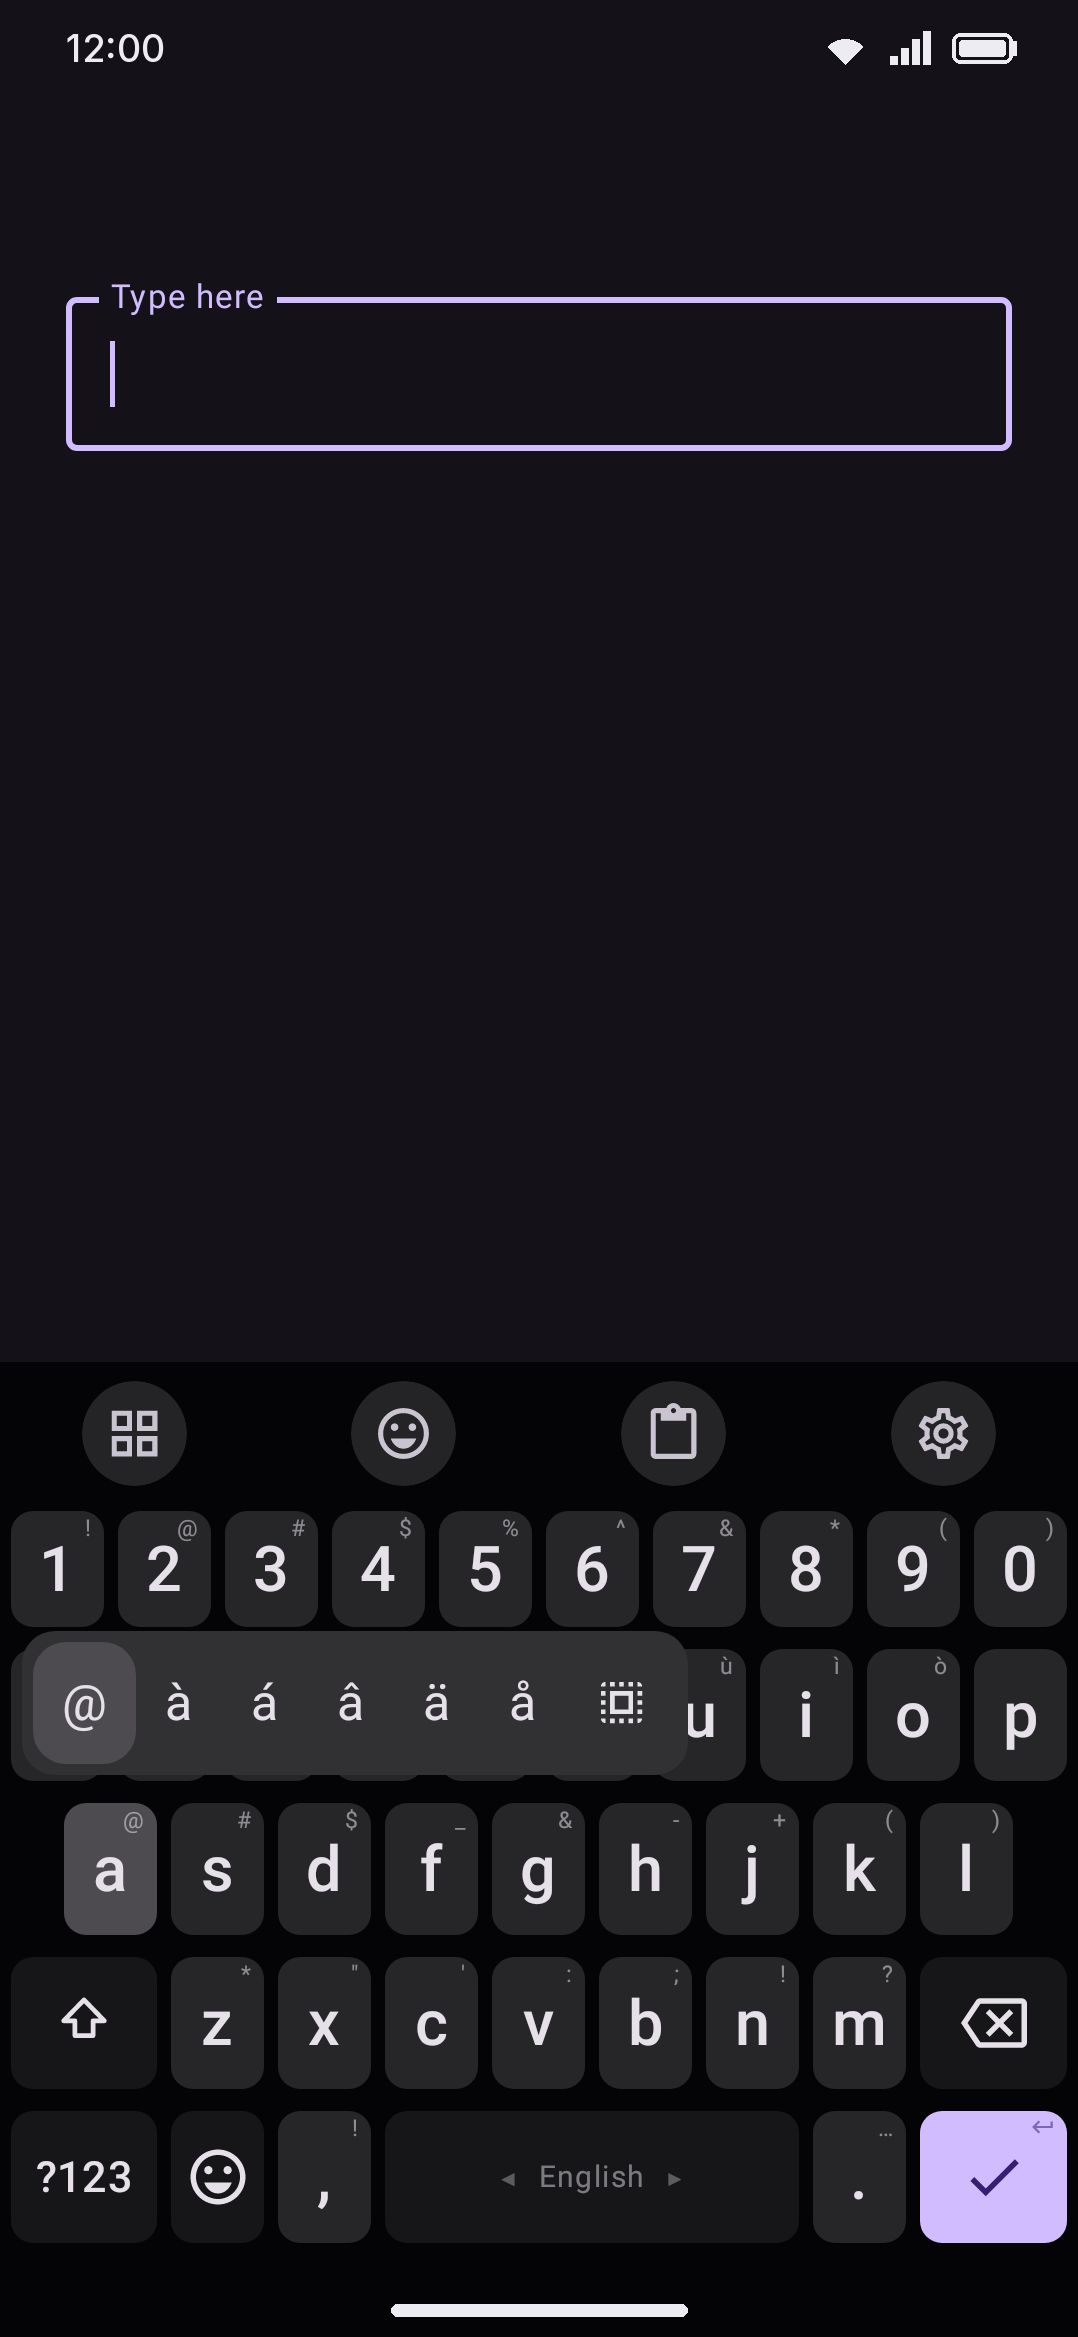
Long-press is the keyboard’s “there’s more here” gesture in a few different places:
- Keys with alternates (most letters, and some punctuation) pop up a row of accented or related characters on long-press. A small corner mark hints which keys have alternates. Turn that hint off from Key press settings.
- The globe key cycles to your next enabled layout on a tap. Long-press it instead to jump straight to the full language picker. A fresh install draws an emoji key in that slot rather than the globe. Turn Emoji key instead of 🌐 off under WM KeyboardLayout & sizeBottom row keys to get the globe back.
- Toolbar tools respond to three gestures. A tap runs the tool. A hold that doesn’t move opens that tool’s own settings page. A hold that then drags picks the tool up to reorder, pin, or unpin it.
- Emoji open a popup of skin-tone and gender variants on long-press, along with the emoji’s name and a favorite toggle.
Two more long-press behaviors have switches of their own, both under WM KeyboardKey pressPress and hold shortcuts. Holding ?123 opens the number pad over any field instead of behaving like a tap, and that one ships on. Letter keys also carry shortcuts for select-all, copy, paste, cut, undo and redo, one switch each, and all six ship on. They sit at the end of the press-and-hold popup of A, C, V, X, Z and Y, and a row below the switches moves them onto keys your own layout actually draws.
Getting to settings
Section titled “Getting to settings”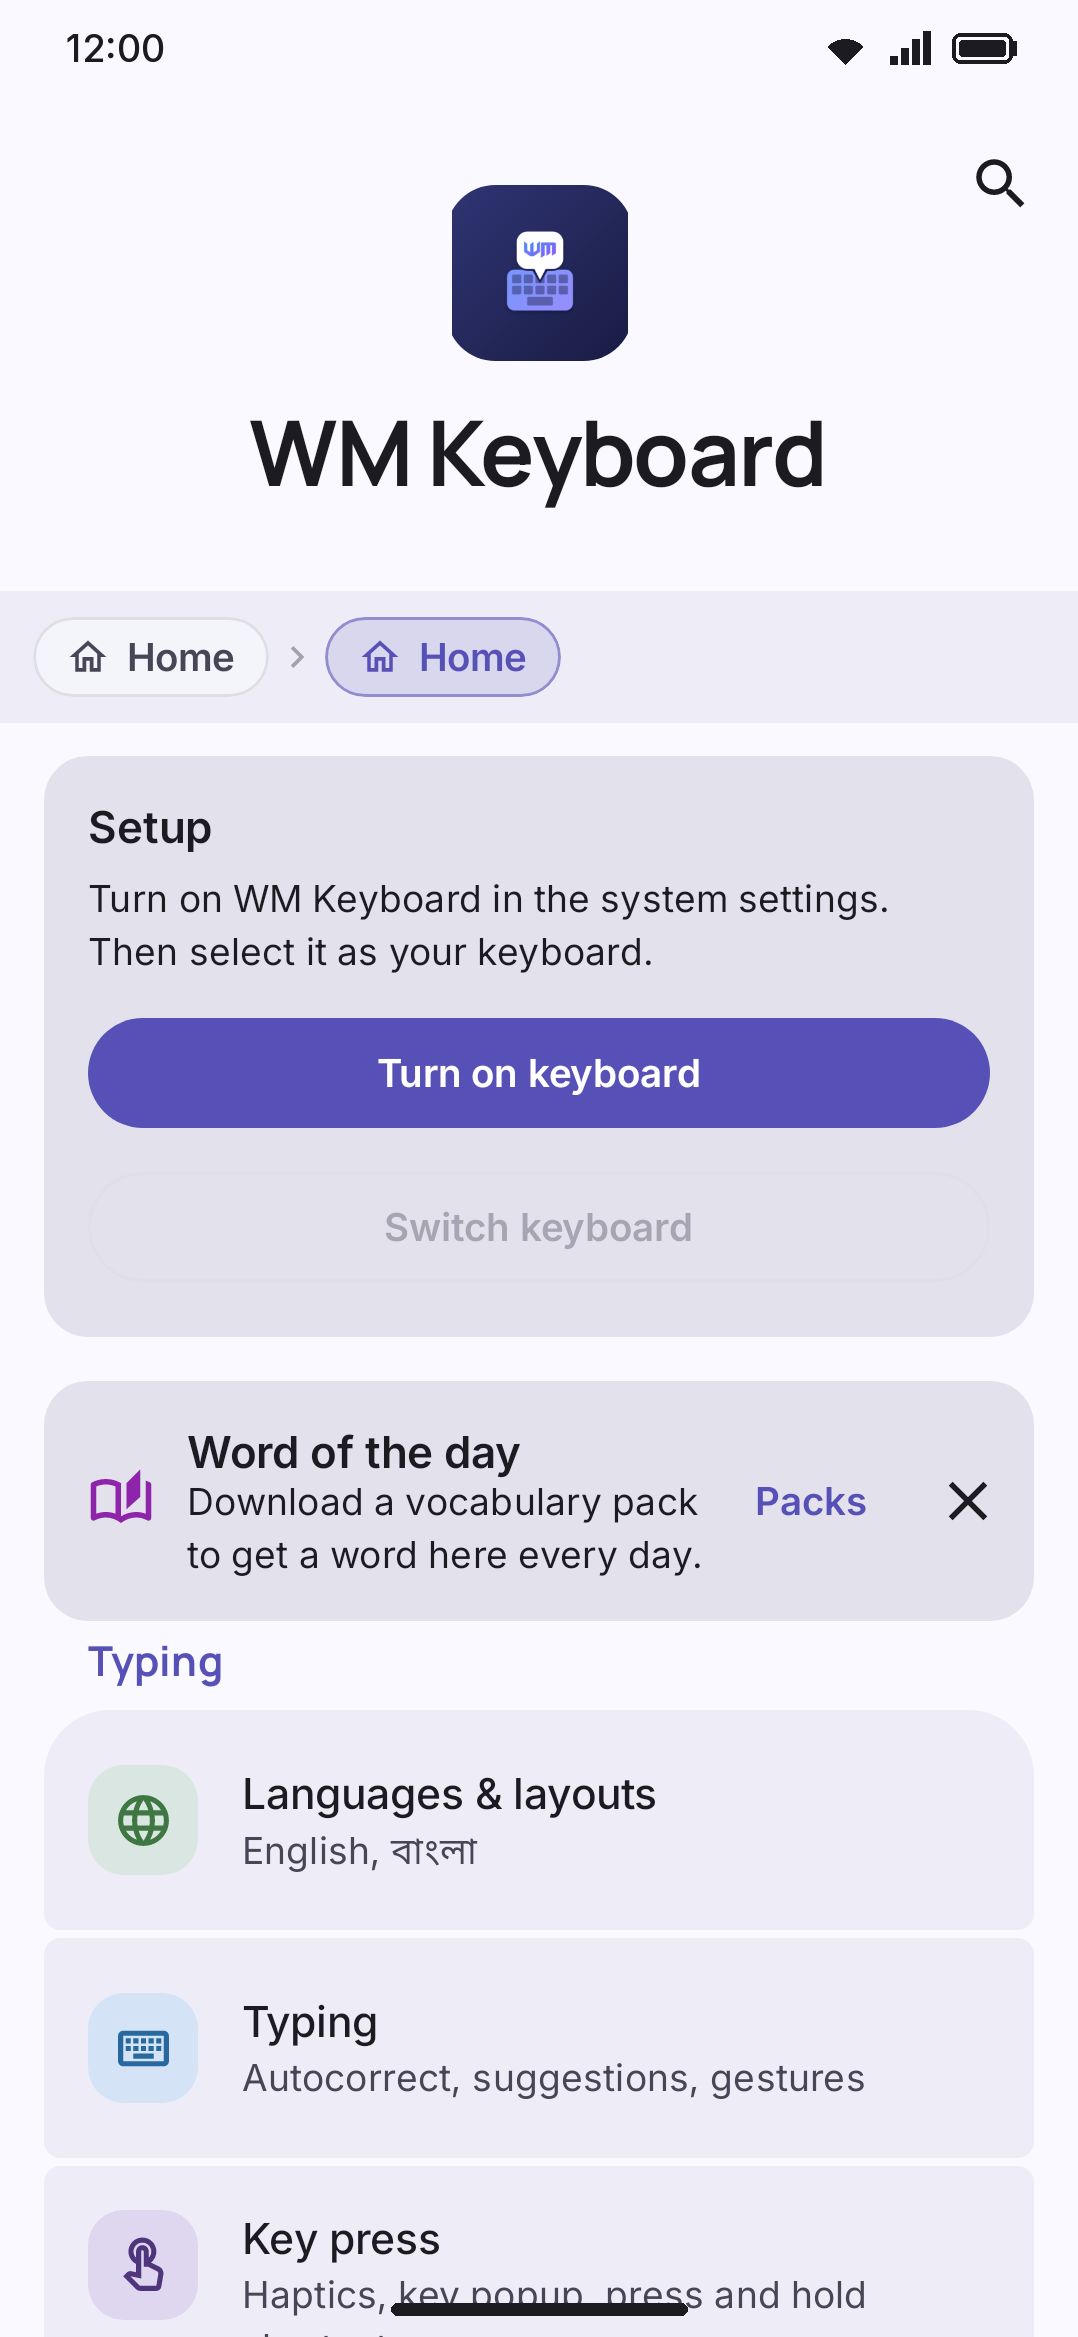
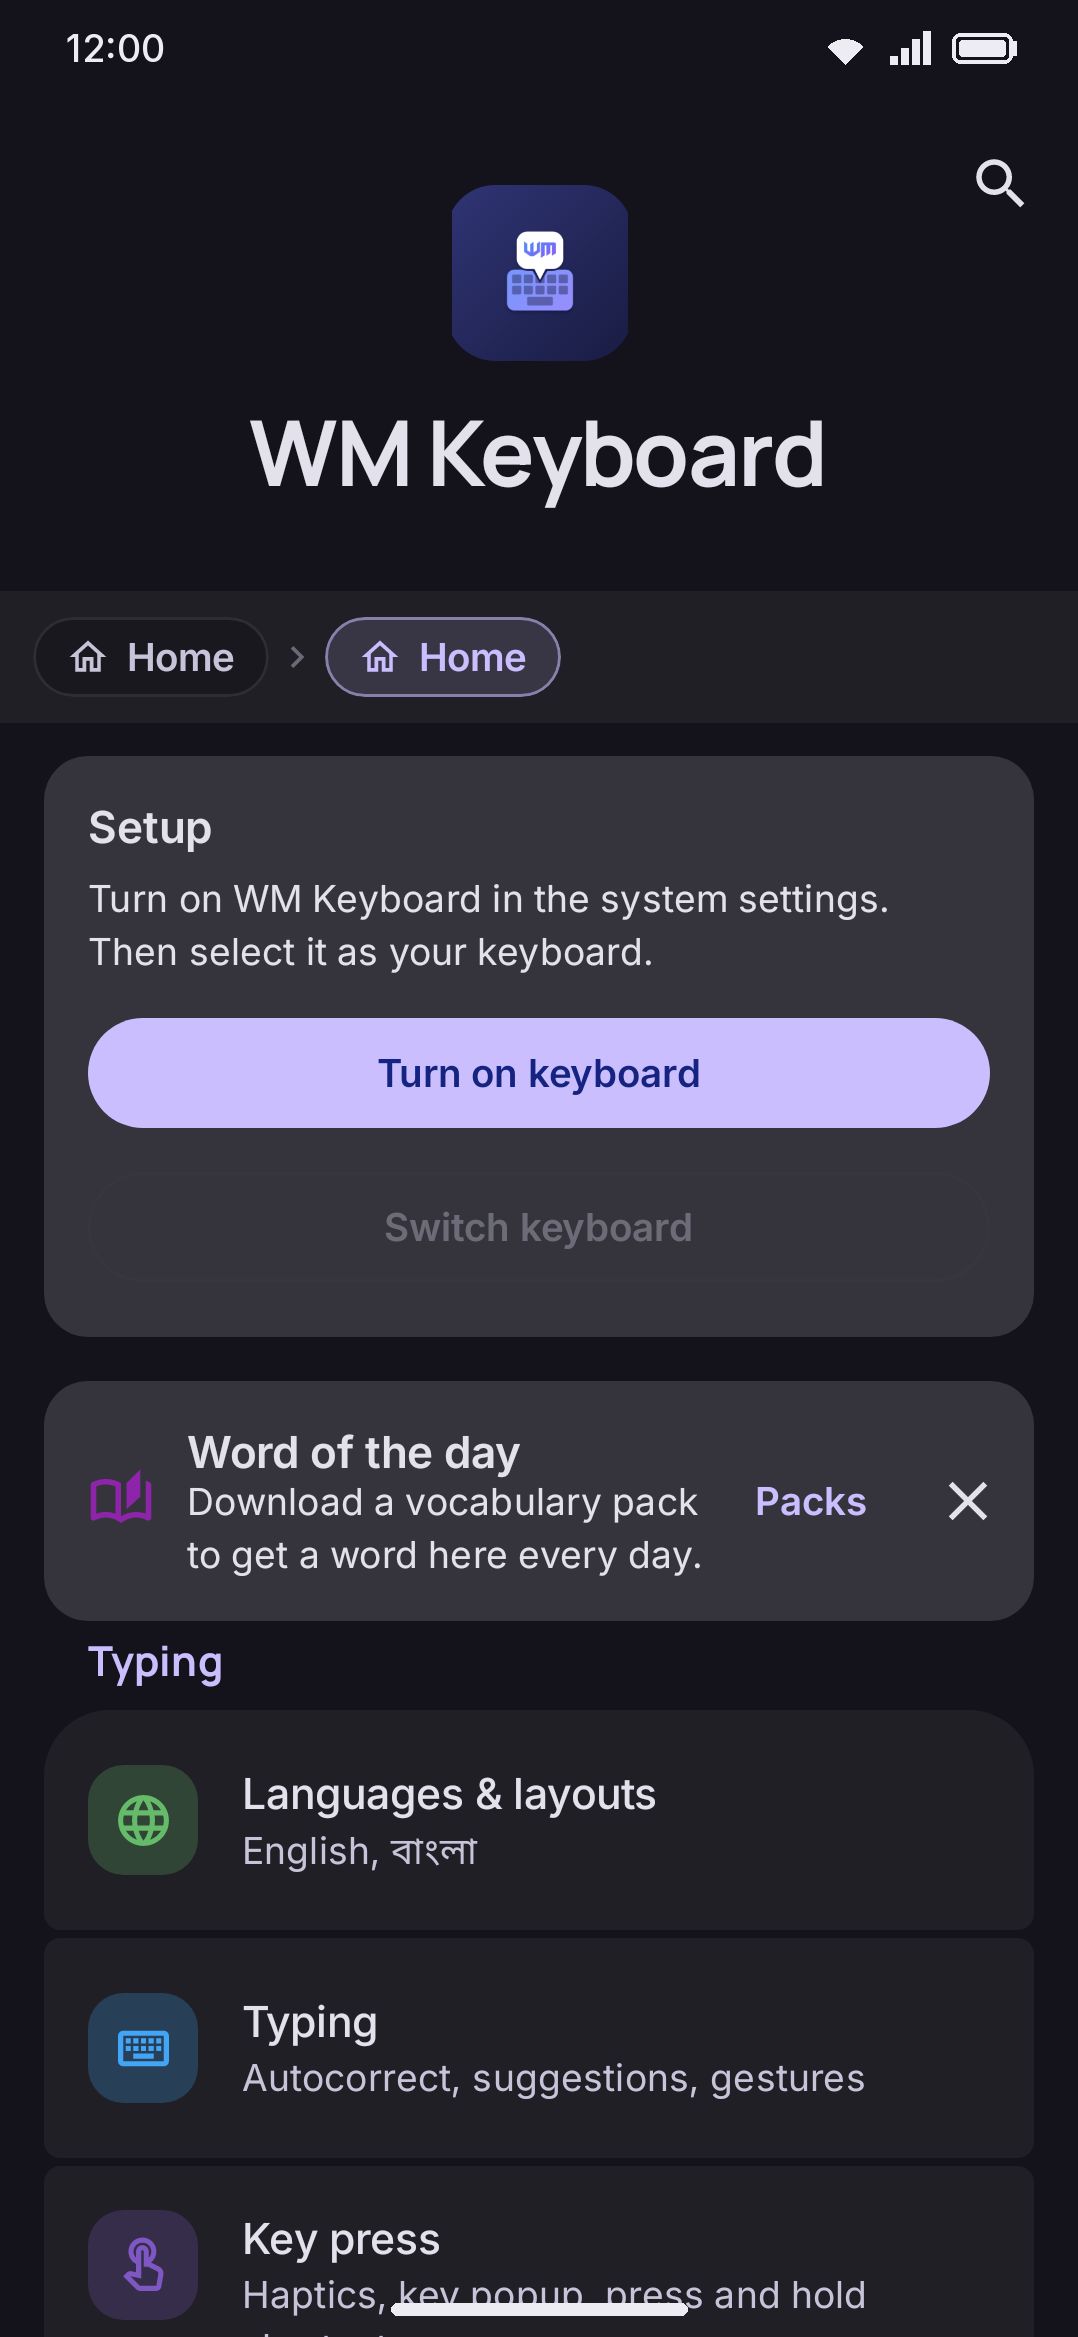
There are three ways to reach the settings app from the keyboard itself:
- Tap the Settings tool (pinned by default) to open the settings app at its home screen.
- Long-press any tool, pinned or in the Toolbox, to jump straight to that tool’s own settings page instead of the home screen.
- Use a panel’s own shortcut to land directly on that section. Snippets and AI writing tools put a gear in the panel header. Themes has an “Edit themes” button, Weather offers one when it needs a location, and the searches offer one when they need a key.
The settings app map
Section titled “The settings app map”The settings app is a flat list of screens, one per section, grouped into six clusters on the home screen:
- Typing: Languages & layouts, Typing, Key press
- Keyboard: Appearance, Layout & size, Rows & bars
- Features: Emoji, Voice typing, Clipboard, Text expansion, Tools
- Accessibility: Accessibility
- Data: Privacy, Backup & restore, Advanced
- About: About
Most screens are just a title and a back button, with one exception. Advanced bundles five screens few people open day to day: Keyboard modes, Add-ons, Data saver, Notifications and Selection actions. Key layouts lives inside Layout & size instead of its own home-screen row. Every section here has a matching reference page under Reference → Settings with the exact options and defaults. This tour only covers where things live, not every switch.
While a screen opens
Section titled “While a screen opens”A settings screen composes its rows as it opens, so the ones below the fold arrive a frame or two after the ones at the top. While they are on their way the screen holds their place with blank rows the size of the real ones, which is why a long screen opens at its full height and fills in rather than growing under you.
Settings search does the same. Its index is built the first time you open the search screen, so if you type immediately you get placeholder rows for a moment. Search only tells you that nothing matched once it has something to match against.
On a tablet
Section titled “On a tablet”On a screen wider than about 840 dp — a tablet either way up, a foldable opened out, or a large free-form window — the settings app splits in two. The home list stays down the left side and the section you open fills the rest of the window, so you can move between sections without going back first. The row you opened is marked in the list, and Back closes the section and leaves the list where it is. Until you open something, the right side shows the app icon and a line telling you to pick a section.
Below that width the app stays one screen at a time, and on a screen wider than two phones the content stops stretching and sits in a column in the middle. A settings row is a name on one side and a switch on the other, and a very wide row puts too much space between the two.
Lists that keep going
Section titled “Lists that keep going”A list that is too long for its window gets a rail down the right edge. The rail shows how much of the list you can see and where in it you are. Drag the rail to move through a long list quickly. A list with groups, such as the key action picker, gets one piece of rail for each group, and the group you are reading is highlighted. Press and hold the rail on such a list and the group name follows your finger. The bottom edge of the list fades while there is more below it.
The same rail is in the keyboard, on menus like the language list from the spacebar and the translation language picker. A list that scrolls also moves down a little and comes back when it opens, so that you can see it scrolls. It stays still if your device has its animations turned off.
Handwriting, OCR, QR/document scanning, and grammar checking need native recognition libraries that only the full build links Full edition only. Everything else on this tour is available in both editions All editions, including all three default pinned tools, the toolbox, and every settings section. See Editions for the full comparison.